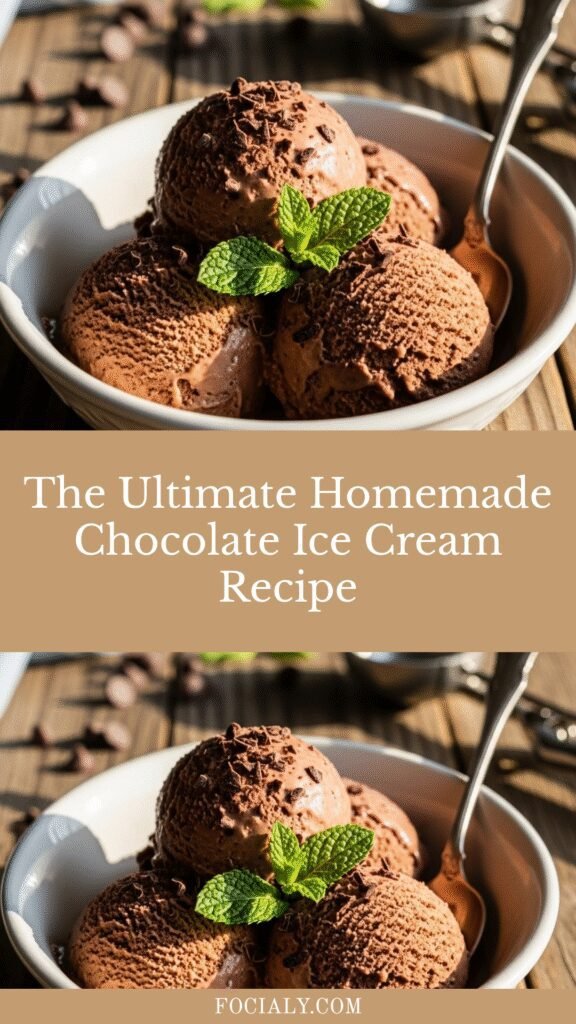
The Ultimate Homemade Chocolate Ice Cream Recipe
There’s something absolutely magical about homemade chocolate ice cream. This isn’t just any chocolate ice cream—it’s a rich, creamy, intensely chocolatey frozen dessert that rivals anything you’d find at a premium ice cream shop. Whether you’re cooling down on a hot summer afternoon, celebrating a special occasion, or simply satisfying that chocolate craving, this homemade chocolate ice cream delivers pure bliss in every spoonful.
What makes this recipe truly special is its perfect balance of deep chocolate flavor and luxurious creaminess. Unlike store-bought versions that can taste artificial or icy, this homemade version uses real chocolate, quality cocoa powder, and fresh cream to create a silky-smooth texture that melts beautifully on your tongue. It’s the kind of dessert that makes everyone ask for seconds, and it’s surprisingly straightforward to make at home, even if you’ve never made ice cream before.
This chocolate ice cream is perfect for backyard barbecues, birthday parties, holiday gatherings, or those quiet evenings when you want to treat yourself to something extraordinary. Serve it in waffle cones, alongside warm brownies, or simply in a classic bowl with your favorite toppings. Once you taste the difference homemade makes, you’ll never look at store-bought ice cream the same way again.
History / Background
Ice cream’s journey is a fascinating tale that spans centuries and continents. While frozen desserts date back to ancient China around 200 BC, where a mixture of milk and rice was packed in snow, the chocolate ice cream we know and love today has a more recent origin story.
The first documented chocolate ice cream recipe appeared in Naples, Italy, in 1692, created by Antonio Latini, a steward to the Spanish Viceroy. However, it was in the Americas where chocolate ice cream truly flourished. After chocolate was introduced to Europe from the New World, creative confectioners began experimenting with combining it with frozen cream desserts.
In colonial America, Thomas Jefferson was famously fond of ice cream and is credited with bringing a French vanilla ice cream recipe back from France. Soon after, American cooks began adding chocolate to create what would become one of the most beloved ice cream flavors in history. By the late 1700s, chocolate ice cream was being served at elegant dinner parties and was considered a luxury dessert reserved for special occasions.
The industrial revolution transformed ice cream from an aristocratic delicacy into an accessible treat for everyone. With the invention of hand-cranked ice cream machines in the mid-1800s and later electric freezers, families could make their own ice cream at home. Chocolate quickly became—and remains—one of the top three most popular ice cream flavors in America, alongside vanilla and strawberry.
Today, homemade chocolate ice cream represents a return to those artisanal roots. Making it from scratch allows you to control the quality of ingredients and create a depth of chocolate flavor that mass-produced versions simply can’t match. It’s a delicious connection to centuries of culinary tradition, right in your own kitchen.
Why You’ll Love This Recipe
This homemade chocolate ice cream recipe is a game-changer for dessert lovers. It combines the indulgence of premium ice cream with the satisfaction of creating something spectacular from scratch. The recipe uses real chocolate and cocoa powder for an intense, authentic chocolate experience that chocolate lovers dream about.
Here’s why this recipe will become your new favorite:
- Incredibly Rich Flavor – Double chocolate (cocoa powder + melted chocolate) creates depth and intensity that store-bought can’t match
- Silky Smooth Texture – The custard base ensures a creamy, non-icy consistency that’s absolutely luxurious
- Customizable – Easily adapt it with mix-ins like chocolate chips, brownie chunks, or swirls of fudge
- No Artificial Ingredients – You control exactly what goes into your ice cream, with no preservatives or artificial flavors
- Impressive Yet Achievable – Looks and tastes professional, but the process is beginner-friendly
- Cost-Effective – Makes a generous batch for less than premium store-bought brands
- Fun Family Activity – Kids love watching (and tasting!) the ice cream-making process
- Perfect Base Recipe – Once you master this, you can create endless flavor variations
Ingredient Notes
Understanding your ingredients is key to making exceptional chocolate ice cream. Each component plays a crucial role in creating that perfect texture and flavor.
Heavy Cream – The foundation of richness. Heavy cream (at least 36% fat) creates that luxurious, smooth mouthfeel. Don’t substitute with half-and-half or milk alone, as the fat content is essential for proper texture. The fat coats your tongue and carries the chocolate flavor beautifully.
Whole Milk – Balances the richness of cream and helps achieve the right consistency. Whole milk prevents the ice cream from being too heavy while maintaining creaminess. You can use 2% milk if needed, though the texture will be slightly less rich.
Granulated Sugar – Sweetens and lowers the freezing point, which helps keep the ice cream scoopable. The right amount of sugar is crucial—too little and it freezes rock-hard, too much and it won’t freeze properly.
Egg Yolks – Create a custard base (French-style ice cream) that’s incredibly smooth and prevents ice crystals. The yolks add richness and act as an emulsifier, binding the fat and water together. This is what separates premium ice cream from basic recipes.
Unsweetened Cocoa Powder – Provides deep chocolate flavor without added sugar or fat. Use Dutch-process cocoa for a smoother, less acidic taste, or natural cocoa for a brighter chocolate flavor. Quality matters here—the better your cocoa, the better your ice cream.
Semi-Sweet Chocolate – Adds another layer of chocolate complexity with its own cocoa butter content, contributing to the creamy texture. You can use dark chocolate (60-70% cacao) for a more sophisticated, less sweet flavor, or milk chocolate for a sweeter, milder taste.
Vanilla Extract – Enhances the chocolate flavor (yes, really!). Pure vanilla extract brings out the nuances in chocolate and adds aromatic depth.
Salt – A small amount intensifies the chocolate flavor and balances sweetness. Never skip the salt—it’s the secret ingredient that makes everything taste more “chocolate-y.”
Equipment Needed
Having the right tools makes the ice cream-making process smooth and enjoyable. Here’s what you’ll need:
- Ice Cream Maker – Essential for churning and freezing. Either a traditional bucket-style with ice and salt, or a modern electric model with a pre-frozen bowl
- Medium Saucepan – For heating the milk mixture and tempering the eggs
- Mixing Bowls – At least two (one for tempering eggs, one for the ice bath)
- Whisk – For mixing and tempering the custard smoothly
- Fine-Mesh Strainer – To strain out any cooked egg bits for silky-smooth ice cream
- Instant-Read Thermometer – Ensures your custard reaches the perfect temperature (170-175°F) without scrambling
- Rubber Spatula – For scraping and stirring
- Measuring Cups and Spoons – For accurate ingredient measurements
- Large Bowl with Ice – For quickly cooling the custard
- Freezer-Safe Container – For storing your finished ice cream (a loaf pan or airtight container works perfectly)
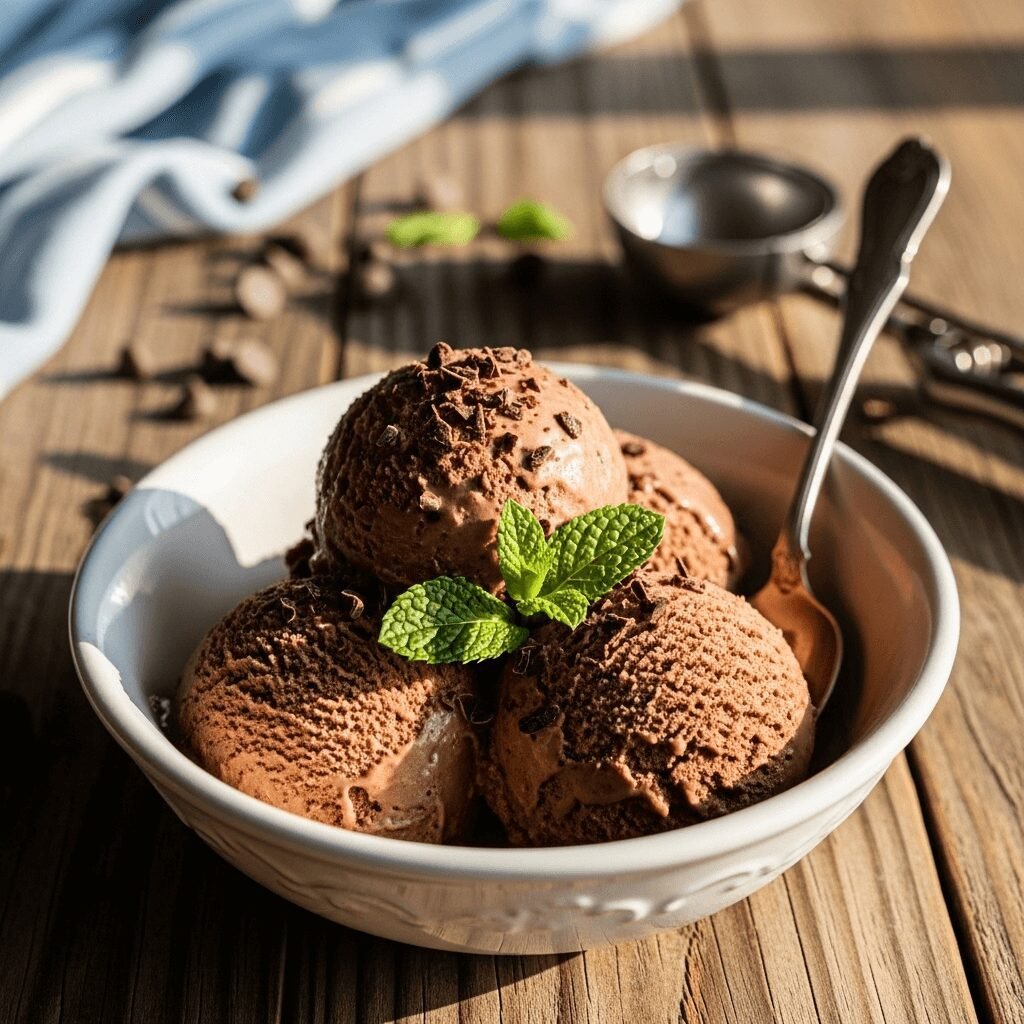
Chocolate Ice Cream Recipe

Rich, creamy homemade chocolate ice cream with intense chocolate flavor and a silky-smooth texture. This custard-based recipe creates premium-quality ice cream that rivals any ice cream shop, made with real chocolate and cocoa powder for double the chocolate deliciousness.
- Prep Time: 20 minutes
- Cook Time: 15 minutes
- Total Time: 5 hours
- Yield: 8 servings (1 quart) 1x
- Category: Dessert
- Method: Stovetop + Ice Cream Maker
- Cuisine: American
- Diet: Vegetarian
Ingredients
- 2 cups heavy cream, divided
- 1 cup whole milk
- ¾ cup granulated sugar
- ⅓ cup unsweetened cocoa powder
- 5 large egg yolks
- 4 ounces semi-sweet chocolate, finely chopped
- 1 teaspoon pure vanilla extract
- ¼ teaspoon salt
Instructions
- Prepare the Chocolate Base: In a medium saucepan, whisk together 1 cup of heavy cream, whole milk, sugar, cocoa powder, and salt. Heat over medium heat, stirring frequently, until the mixture is hot and steaming (but not boiling) and the sugar has completely dissolved, about 5 minutes.
- Temper the Egg Yolks: In a separate medium bowl, whisk the egg yolks until smooth. Slowly pour about 1 cup of the hot chocolate mixture into the yolks while whisking constantly. This gradually raises the temperature of the yolks without scrambling them.
- Cook the Custard: Pour the tempered egg mixture back into the saucepan with the remaining chocolate mixture. Cook over medium-low heat, stirring constantly with a rubber spatula or wooden spoon, until the mixture thickens enough to coat the back of the spoon (it should reach 170-175°F on an instant-read thermometer), about 5-8 minutes. Do not let it boil.
- Melt the Chocolate: Remove from heat and immediately add the chopped chocolate, stirring until completely melted and smooth. The residual heat will melt the chocolate perfectly.
- Strain and Combine: Pour the mixture through a fine-mesh strainer into a clean bowl containing the remaining 1 cup of cold heavy cream. Stir in the vanilla extract. This step ensures a perfectly smooth texture.
- Chill Thoroughly: Set the bowl in an ice bath and stir occasionally until cooled to room temperature, then cover with plastic wrap (press it directly onto the surface to prevent a skin from forming) and refrigerate for at least 4 hours or preferably overnight. The colder the base, the better your ice cream will churn.
- Churn the Ice Cream: Pour the chilled custard into your ice cream maker and churn according to the manufacturer’s instructions, usually about 20-25 minutes, until it reaches a soft-serve consistency.
- Freeze Until Firm: Transfer the churned ice cream to a freezer-safe container, press plastic wrap or parchment paper directly onto the surface, cover with a lid, and freeze for at least 4 hours or until firm enough to scoop.
- Serve and Enjoy: Let the ice cream sit at room temperature for 5-10 minutes before scooping for the best texture. Scoop into bowls or cones and serve immediately.
Notes
- For the richest flavor, use high-quality chocolate and cocoa powder. The quality of your chocolate directly impacts the final taste.
- Don’t skip the chilling step—a thoroughly chilled base churns better and creates smoother ice cream with smaller ice crystals.
- If you don’t have an ice cream maker, you can still make this recipe using the “no-churn” method: after chilling, pour into a freezer-safe container and freeze, stirring vigorously every 30 minutes for the first 2-3 hours to break up ice crystals.
- The ice cream will be quite hard after overnight freezing. Always let it soften slightly before scooping for easier serving and better texture.
Nutrition
- Serving Size: ½ cup (approximately 125g)
- Calories: 380
- Sugar: 24g
- Sodium: 95mg
- Fat: 28g
- Saturated Fat: 17g
- Unsaturated Fat: 9g
- Trans Fat: 0g
- Carbohydrates: 30g
- Fiber: 2g
- Protein: 6g
- Cholesterol: 185mg
Nutrition information is approximate and based on standard ingredient measurements.
Tips & Variations
Make this recipe your own with these creative adaptations:
Mint Chocolate: Add 1 teaspoon of peppermint extract along with the vanilla, and fold in ½ cup of mini chocolate chips after churning.
Mexican Chocolate: Add ½ teaspoon of ground cinnamon and a pinch of cayenne pepper to the mixture for a warm, spicy twist.
Mocha Ice Cream: Dissolve 2 tablespoons of instant espresso powder into the hot milk mixture for a coffee-chocolate combination.
Triple Chocolate: Fold in ½ cup each of dark chocolate chips and white chocolate chips after churning for three types of chocolate in every bite.
Chocolate Peanut Butter Swirl: After churning, layer the ice cream in the container with ribbons of warmed peanut butter and swirl gently with a knife.
Brownie Chunk: Fold in 1 cup of chopped brownies during the last minute of churning for a decadent treat.
Vegan Option: Replace heavy cream with full-fat coconut cream, milk with oat milk, and egg yolks with 2 tablespoons of cornstarch mixed with a bit of the milk to thicken.
Lower Sugar: Reduce sugar to ½ cup, though the ice cream will freeze harder and may need longer softening time before serving.
Pro Chef Tips
These professional techniques will elevate your homemade ice cream from good to extraordinary:
Temperature Control is Everything: Use an instant-read thermometer religiously. The custard should reach exactly 170-175°F—any hotter and you risk scrambling the eggs, any cooler and you won’t achieve the proper thickness. This precision separates amateur from professional results.
The Overnight Chill Makes Magic: While you can technically churn after 4 hours, chilling your base overnight allows the flavors to meld and develop complexity. The cocoa particles fully hydrate, creating a more intense chocolate flavor and smoother texture. Professional ice cream makers always age their bases.
Bloom Your Cocoa: For even deeper flavor, “bloom” your cocoa powder by whisking it with hot liquid first (as in this recipe). The heat activates the cocoa’s flavor compounds, creating a more pronounced chocolate taste.
The Coat-the-Spoon Test: To know when your custard is perfectly cooked, dip a wooden spoon into the mixture and run your finger across the back. If the line holds clearly without the custard running back together, it’s ready. This visual cue is just as important as temperature.
Pre-Freeze Your Storage Container: Place your storage container in the freezer while the ice cream churns. Transferring freshly churned ice cream into a cold container helps it freeze faster and more evenly, creating better texture.
Layer for Better Storage: When transferring churned ice cream to your container, add it in layers, pressing down gently to remove air pockets. Air is the enemy of ice cream—it causes freezer burn and ice crystals.
Common Mistakes to Avoid
Learn from others’ mistakes to ensure perfect results every time:
Skipping the Straining Step: Even with perfect technique, tiny bits of cooked egg can form. Straining guarantees silky-smooth ice cream. Don’t skip this step, even if your custard looks perfect—those few seconds make all the difference in texture.
Not Chilling Completely: Churning warm or room-temperature base results in icy, grainy ice cream because the machine can’t freeze it quickly enough. Patience here is crucial—always chill thoroughly, preferably overnight.
Overcooking the Custard: If you see steam turning to bubbles or the mixture starts to simmer, you’ve gone too far. Overcooked custard can curdle or develop an eggy flavor. Keep the heat medium-low and stir constantly.
Overfilling the Ice Cream Maker: Only fill your machine’s bowl 2/3 full maximum. The mixture expands as it churns and needs room for air incorporation. Overfilling results in butter-like texture or overflow.
Storing Without Protection: Ice cream is incredibly prone to absorbing freezer odors and forming ice crystals on the surface. Always press plastic wrap or parchment directly onto the ice cream surface before covering with a lid to create a protective barrier.
Storage & Meal Prep
Proper storage ensures your homemade chocolate ice cream stays delicious for weeks:
Refrigerator Storage (Base): The uncooked custard base can be refrigerated for up to 2 days before churning. This actually improves the flavor, so feel free to make it ahead.
Freezer Storage (Finished Ice Cream): Store finished ice cream in an airtight, freezer-safe container for up to 2 months. However, it’s best enjoyed within the first 2 weeks when the texture and flavor are at their peak.
Preventing Ice Crystals: Press plastic wrap or parchment paper directly onto the ice cream surface before sealing the container. This prevents freezer burn and ice crystal formation. For extra protection, place the sealed container inside a freezer bag.
Best Storage Containers: Shallow, wide containers are better than tall, narrow ones. They freeze more evenly and make scooping easier. Loaf pans work wonderfully and fit nicely in most freezers.
Reheating/Softening: Never microwave ice cream to soften it—this melts it unevenly. Instead, transfer from freezer to refrigerator for 10-15 minutes, or let sit at room temperature for 5-10 minutes before serving.
Dealing with Hard-Frozen Ice Cream: If your ice cream becomes rock-solid, let it sit at room temperature until the outer edge softens slightly, then use an ice cream scoop dipped in hot water to serve.
Make-Ahead & Freezer Notes
Planning ahead makes homemade ice cream even more convenient:
Two-Day Make-Ahead Method: Day 1 (evening): Make the custard base and refrigerate overnight. Day 2 (morning): Churn the ice cream and freeze for at least 4 hours before serving. This method gives you freshly churned ice cream without last-minute stress.
Freezer-Friendly: This ice cream is completely freezer-friendly and designed for long-term freezing. Unlike some desserts that don’t freeze well, ice cream is meant to be frozen and actually improves in texture after a full freeze.
Pre-Freezing for Parties: Make this ice cream up to 2 weeks before your event. It will maintain excellent quality and saves you from last-minute dessert preparation. Just remember to let it soften properly before serving to guests.
Churning in Batches: If you’re making multiple flavors for a party, make all the custard bases ahead, refrigerate them, then churn one after another on the day before your event. This is much more efficient than trying to do everything at once.
Best Reheating Method: There’s no “reheating” with ice cream, but for best serving texture, plan ahead by moving the container from freezer to refrigerator 15-20 minutes before dessert time, or leave at room temperature for 5-10 minutes.
Serving Suggestions
Elevate your chocolate ice cream with these perfect pairings and presentation ideas:
Classic Accompaniments: Serve in sugar cones or waffle cones for traditional ice cream shop appeal. Top with whipped cream, chocolate shavings, and a maraschino cherry for a classic sundae presentation.
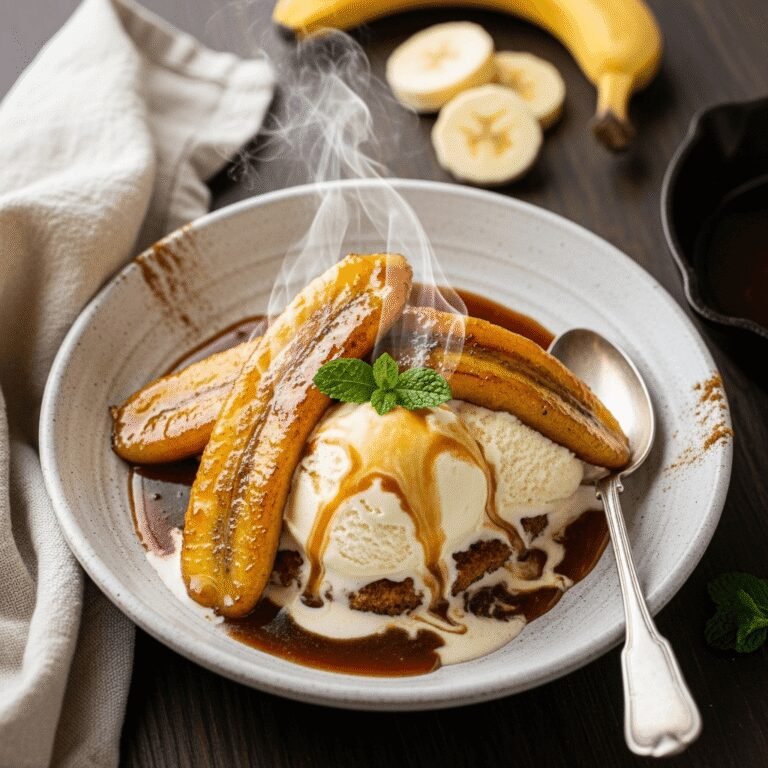
Warm Dessert Pairings: Nothing beats chocolate ice cream alongside warm brownies, freshly baked chocolate chip cookies, or a slice of hot fudge cake. The temperature contrast creates an incredible eating experience.
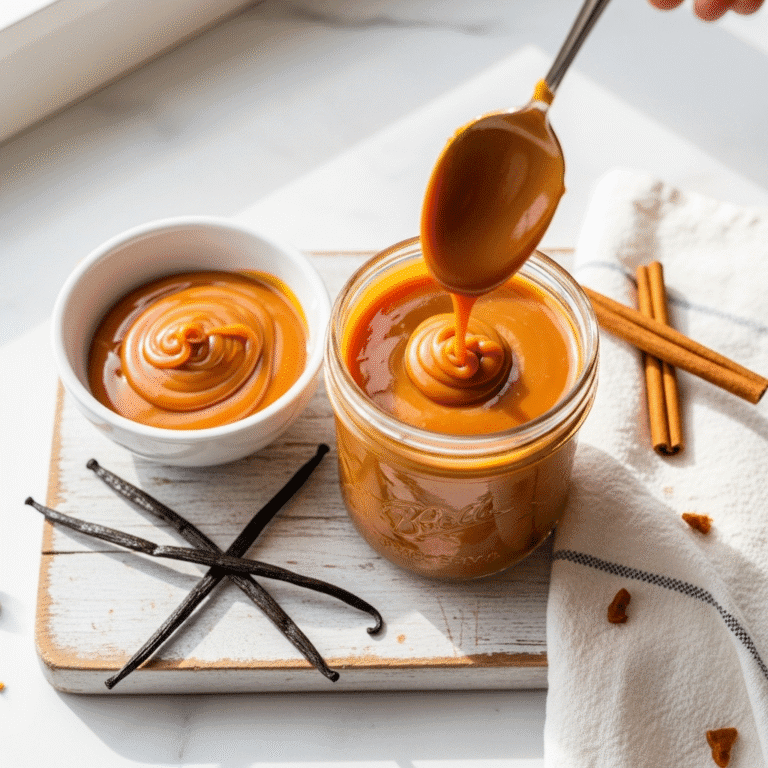
Elegant Plating: Serve scoops in chilled glass bowls or coupe glasses, drizzle with homemade hot fudge or caramel sauce, and garnish with fresh mint leaves and a chocolate curl for dinner party elegance.
Beverages: Pair with espresso or strong coffee for an affogato-style dessert. For kids, serve alongside cold milk or create root beer floats for a fun twist.
Build-Your-Own Sundae Bar: Set out bowls of toppings like crushed Oreos, chopped nuts, sprinkles, chocolate chips, fresh berries, marshmallows, and various sauces (hot fudge, caramel, strawberry). Let guests create their own masterpieces.
Sandwich Creations: Use chocolate chip cookies, brownies, or even donuts as “bread” to create epic ice cream sandwiches. Roll the edges in mini chocolate chips or sprinkles for extra fun.
Milkshake Magic: Blend scoops with milk to create the ultimate chocolate milkshake. Add a shot of espresso for a mocha shake, or peanut butter for a chocolate-peanut butter shake.
FAQs Section
Can I make this without an ice cream maker?
Yes! After chilling the custard completely, pour it into a shallow freezer-safe container and freeze. Every 30 minutes for the first 2-3 hours, remove from the freezer and stir vigorously with a fork or whisk to break up ice crystals. This manual method requires more attention but produces good results without special equipment.
Why is my ice cream icy instead of creamy?
Iciness usually results from one of three issues: the base wasn’t chilled enough before churning, your freezer temperature fluctuates, or the ice cream wasn’t churned long enough. Always chill the base overnight, ensure your freezer stays at 0°F or below, and churn until the mixture reaches soft-serve consistency before freezing.
Can I use milk chocolate instead of semi-sweet?
Absolutely! Milk chocolate will create a sweeter, milder chocolate flavor. Just know that you might want to reduce the sugar slightly (by about 2 tablespoons) since milk chocolate is already quite sweet.
How do I prevent my ice cream from getting too hard in the freezer?
Homemade ice cream naturally freezes harder than store-bought because it lacks stabilizers and extra air. The sugar content affects this—you can add 1-2 tablespoons of vodka or corn syrup to the base, which lowers the freezing point and keeps it scoopable. Always let hard-frozen ice cream soften for 5-10 minutes before serving.
What’s the difference between custard-based and Philadelphia-style ice cream?
Custard-based (French-style) ice cream, like this recipe, uses egg yolks for a rich, smooth texture with more complex flavor. Philadelphia-style (American-style) contains no eggs and has a lighter, more straightforward taste. The custard method creates premium quality but requires more technique.
Can I double this recipe?
Yes, but check your ice cream maker’s capacity first. Most home machines handle 1-1.5 quarts maximum. If doubling, you may need to churn in two batches. The custard base can absolutely be doubled and portioned before churning.
My custard curdled—can I save it?
If you catch slight curdling early, immediately remove from heat and blend with an immersion blender or in a regular blender. This can often smooth it out. If severely curdled with large lumps, unfortunately, you’ll need to start over. Prevent this by using medium-low heat and stirring constantly.
Conclusion
Making homemade chocolate ice cream is truly one of life’s simple pleasures. Yes, it requires a bit more effort than grabbing a pint from the freezer aisle, but the reward is absolutely worth it—rich, velvety, intensely chocolatey ice cream that tastes like it came from an artisan ice cream shop, created right in your own kitchen.
This recipe has been a game-changer for so many home cooks who thought ice cream making was complicated or required professional skills. Once you master this basic technique, you’ll find yourself experimenting with flavors, surprising guests at dinner parties, and creating special memories with family as you churn batch after batch of frozen delight.
The beauty of homemade ice cream isn’t just in the superior taste and texture—it’s in the joy of creating something from scratch, the anticipation as you wait for it to freeze, and the satisfaction of that first perfect scoop. There’s something wonderfully nostalgic about making ice cream at home, connecting us to simpler times and sweeter moments.
So gather your ingredients, dust off that ice cream maker (or grab one if you don’t have it yet—it’s worth the investment!), and treat yourself to the most delicious chocolate ice cream you’ve ever tasted. Your taste buds will thank you, and you might just start a new family tradition.
Ready to make the creamiest chocolate ice cream ever? Try this recipe and let me know how it turns out! Drop a comment below with your results, share your favorite mix-ins, or tell me what flavor you’d like to see next. And don’t forget to save this recipe to your Pinterest boards so you can find it whenever that ice cream craving hits! Happy churning! 🍫🍦