The Ultimate Chocolate Chip Cookie Recipe: Soft, Chewy, and Absolutely Irresistible

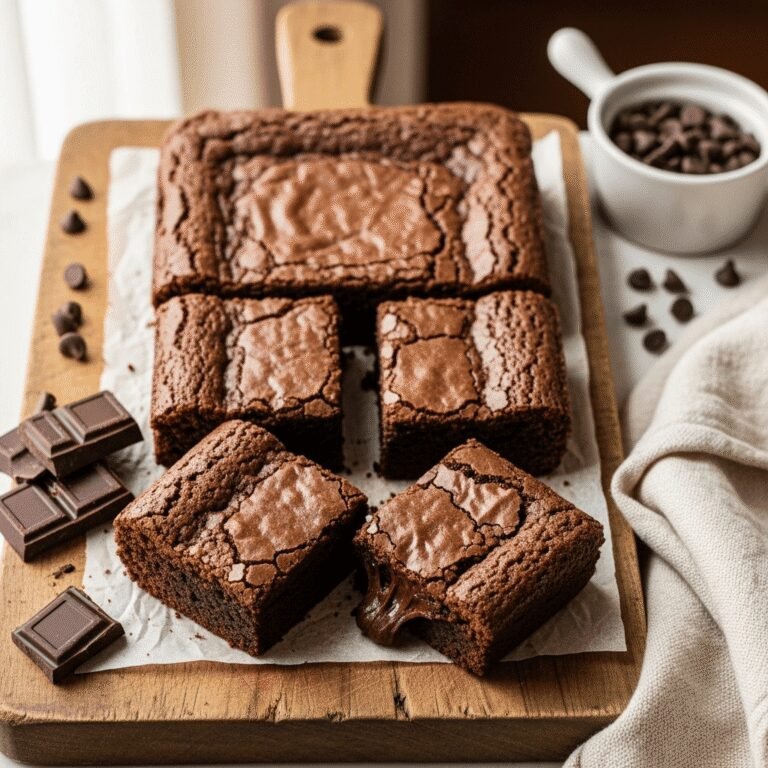
There’s something magical about chocolate chip cookies that transcends generations. These golden-brown beauties with their puddles of melted chocolate and crispy edges are the ultimate comfort food that transforms any ordinary day into something special. Whether you’re baking for a school fundraiser, treating yourself after a long day, or creating memories with your kids in the kitchen, this chocolate chip cookie recipe delivers bakery-quality results every single time.
What makes these cookies truly special is their perfect balance—crispy around the edges, soft and chewy in the center, with chocolate chips in every bite. They’re the kind of cookies that disappear within minutes of coming out of the oven, filling your home with that irresistible aroma of vanilla, butter, and caramelized sugar. This recipe has been tested countless times to achieve that ideal texture that stays soft for days (if they last that long!).
Perfect for holiday cookie exchanges, afternoon snacks with cold milk, care packages for college students, or simply satisfying that midnight cookie craving, these homemade chocolate chip cookies are versatile enough for any occasion. They’re also wonderfully forgiving for beginner bakers while offering enough nuance to keep experienced home cooks excited about perfecting their technique.
History / Background
The chocolate chip cookie has a fascinating origin story that begins in 1938 at the Toll House Inn in Whitman, Massachusetts. Ruth Graves Wakefield, who owned and operated the inn with her husband, was an accomplished chef and dietitian who regularly experimented with recipes to delight her guests. One day, while preparing a batch of Butter Drop Do cookies—a popular Colonial-era recipe—Ruth decided to chop up a Nestlé semi-sweet chocolate bar and fold the chunks into her butter cookie dough.
She expected the chocolate pieces to melt completely and create chocolate cookies, but instead, they held their shape and softened into delicious morsels throughout the golden cookie. Her guests absolutely loved this happy accident, and the “Toll House Chocolate Crunch Cookie” was born. The recipe’s popularity exploded so rapidly that Nestlé struck a deal with Ruth—they would print her recipe on their chocolate bar packaging in exchange for a lifetime supply of chocolate. In 1939, Nestlé began producing chocolate chips specifically designed for baking, and the rest is culinary history.
During World War II, soldiers from Massachusetts received care packages containing these cookies, and they shared them with fellow servicemen from across the country. This helped spread the recipe’s popularity nationwide. By the 1950s, chocolate chip cookies had become an American icon, representing home, comfort, and the joy of homemade baking. Today, they’re the most popular cookie in America, with over 7 billion consumed annually in the United States alone.
The chocolate chip cookie has evolved over the decades, with countless variations emerging—from thin and crispy to thick and bakery-style, from loaded with nuts to stuffed with extra fillings. Yet the classic recipe remains beloved for its simplicity and that perfect combination of buttery cookie dough and melted chocolate that Ruth Wakefield stumbled upon all those years ago.
Why You’ll Love This Recipe
This isn’t just another chocolate chip cookie recipe—it’s THE recipe you’ll turn to again and again because it consistently delivers perfect results with minimal fuss. After years of testing and tweaking, I’ve developed a recipe that combines the best techniques from professional bakeries with the ease and accessibility that home bakers need.
Here’s why this recipe will become your go-to:
- Foolproof for beginners – Clear instructions and simple techniques mean you can’t mess this up, even if it’s your first time baking cookies
- Bakery-quality texture – That coveted combination of crispy edges and soft, chewy centers that professional bakeries charge premium prices for
- Uses everyday ingredients – No exotic or hard-to-find items; everything you need is probably already in your pantry
- Ready in under 30 minutes – From mixing bowl to cooling rack, you can have fresh cookies in less time than it takes to watch a sitcom
- Incredible flavor depth – The addition of both granulated and brown sugar creates complex caramelized notes that elevate these beyond basic cookies
- Stays soft for days – Thanks to the perfect ratio of ingredients, these cookies maintain their chewy texture even after several days in storage
- Completely customizable – Easy to adapt with different mix-ins, chocolate varieties, or dietary modifications
- Kid-friendly activity – A perfect recipe for baking with children, teaching them basic kitchen skills while creating delicious memories
- Freezer-friendly dough – Make a double batch and freeze half for those emergency cookie cravings
- Budget-friendly – Costs just pennies per cookie compared to store-bought or bakery options
Ingredient Notes
Understanding your ingredients is the secret to baking success. Here’s what goes into these perfect chocolate chip cookies and why each component matters:
Butter (Unsalted) – The foundation of rich, buttery flavor. Using unsalted butter lets you control the salt level in your cookies. Make sure it’s softened to room temperature (should leave a slight indent when pressed) but not melted, as this affects texture. Substitution: Salted butter works if you reduce added salt to 1/2 teaspoon.
Granulated Sugar & Brown Sugar – This duo is crucial! Granulated sugar promotes spreading and creates crispy edges, while brown sugar adds moisture, chewiness, and a caramel-like depth. The molasses in brown sugar is what gives that rich flavor. Substitution: You can use all brown sugar for extra chewiness or all granulated for crispier cookies.
Eggs – Provide structure, moisture, and help bind everything together. Room temperature eggs incorporate more easily. Substitution: For egg-free, try flax eggs (1 tablespoon ground flaxseed + 3 tablespoons water per egg).
Vanilla Extract – Pure vanilla extract adds warmth and enhances all other flavors. Don’t skip this! Imitation vanilla won’t give the same depth. Substitution: Vanilla bean paste for even more flavor intensity.
All-Purpose Flour – The structure builder. Don’t pack it into the measuring cup; spoon it in gently and level off. Substitution: For gluten-free, use a 1:1 gluten-free baking flour.
Baking Soda – This leavening agent helps cookies spread and creates that slightly crispy exterior. Make sure it’s fresh (test by adding a pinch to vinegar—it should fizz vigorously).
Salt – Enhances sweetness and balances flavors. Don’t skip it; cookies without salt taste flat and one-dimensional.
Chocolate Chips – The star of the show! Semi-sweet is classic, but dark chocolate (60-70% cacao) adds sophistication, while milk chocolate makes them sweeter. Use good-quality chips for best results. Substitution: Chopped chocolate bars, chocolate chunks, or a mix of different chocolates.
Equipment Needed
Having the right tools makes baking easier and more enjoyable. Here’s what you’ll need for perfect chocolate chip cookies:
- Mixing bowls (2-3 medium to large bowls for separating wet and dry ingredients)
- Electric mixer (stand mixer or hand mixer—though you can mix by hand with a wooden spoon if needed)
- Measuring cups and spoons (for accurate measurements)
- Baking sheets (2-3 cookie sheets for efficient batch baking)
- Parchment paper or silicone baking mats (prevents sticking and ensures even browning)
- Cooling racks (allows air circulation so bottoms don’t get soggy)
- Cookie scoop or spoon (2-tablespoon cookie scoop for uniformly sized cookies)
- Rubber spatula (for scraping down bowl sides and folding in chocolate chips)
- Wire whisk (for combining dry ingredients)
- Kitchen timer (crucial for preventing over-baking)
The Ultimate Chocolate Chip Cookie Recipe: Soft, Chewy, and Absolutely Irresistible

The ultimate homemade chocolate chip cookies with crispy edges, soft chewy centers, and melted chocolate in every bite. This foolproof recipe uses simple pantry ingredients to create bakery-quality cookies that stay soft for days.
- Prep Time: 15 minutes
- Cook Time: 10 minutes
- Total Time: 25 minutes
- Yield: 36 cookies 1x
- Category: Dessert
- Method: Baking
- Cuisine: American
- Diet: Vegetarian
Ingredients
- 2 1/4 cups all-purpose flour
- 1 teaspoon baking soda
- 1 teaspoon salt
- 1 cup (2 sticks) unsalted butter, softened to room temperature
- 3/4 cup granulated sugar
- 3/4 cup packed brown sugar
- 2 large eggs, room temperature
- 2 teaspoons pure vanilla extract
- 2 cups semi-sweet chocolate chips
- Optional: 1 cup chopped walnuts or pecans
Instructions
- Preheat and prepare: Preheat your oven to 375°F (190°C). Line two large baking sheets with parchment paper or silicone baking mats. This prevents sticking and promotes even browning.
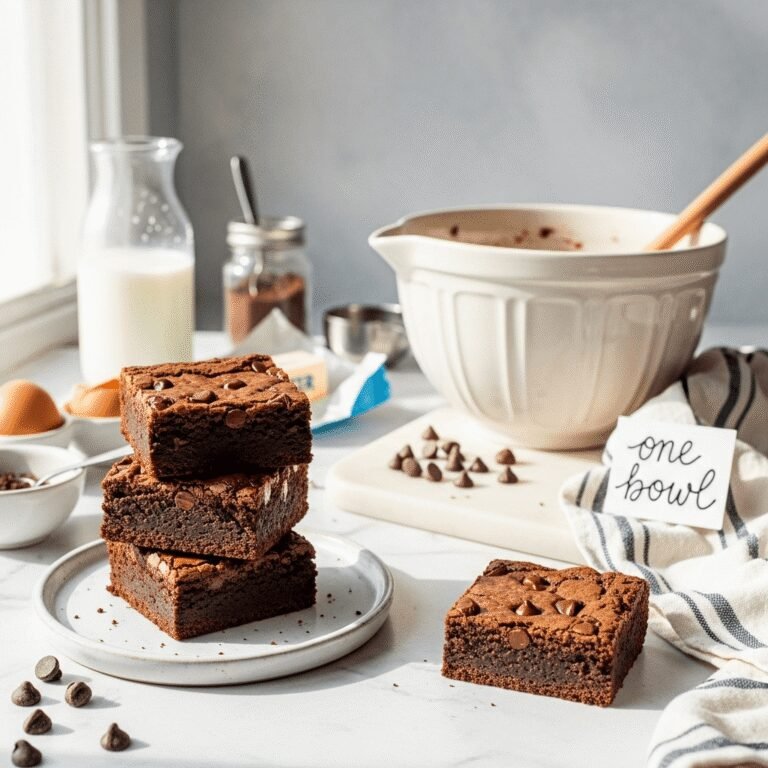
- Combine dry ingredients: In a medium bowl, whisk together flour, baking soda, and salt. Set this aside. Whisking aerates the flour and evenly distributes the leavening agents.
- Cream butter and sugars: In a large mixing bowl, use an electric mixer on medium speed to beat the softened butter, granulated sugar, and brown sugar together for 2-3 minutes until light and fluffy. This creaming process incorporates air and creates a lighter texture.
- Add eggs and vanilla: Beat in eggs one at a time, mixing well after each addition. Add vanilla extract and beat until fully incorporated. The mixture should look smooth and slightly pale.
- Incorporate dry ingredients: Reduce mixer speed to low. Gradually add the flour mixture to the wet ingredients, mixing just until no white streaks remain. Don’t overmix, as this can make cookies tough.
- Fold in chocolate chips: Using a rubber spatula, gently fold in chocolate chips (and nuts if using) until evenly distributed throughout the dough.
- Shape cookies: Using a cookie scoop or spoon, drop rounded tablespoons of dough onto prepared baking sheets, spacing them about 2 inches apart to allow for spreading.
- Bake: Bake for 9-11 minutes, or until edges are golden brown but centers still look slightly underdone. They’ll continue cooking on the hot pan after removal.
- Cool properly: Let cookies cool on the baking sheet for 5 minutes (this is crucial for texture!), then transfer to a wire rack to cool completely.
- Enjoy: Serve warm with cold milk, or store in an airtight container once completely cooled.
Notes
- For thicker cookies, chill dough for 30 minutes before baking
- Don’t overbake! Cookies should look slightly underdone in the center when you remove them
- Use a kitchen scale for most accurate measurements (1 cup flour = 120g)
- Room temperature ingredients mix more easily and create better texture
- Rotate baking sheets halfway through for even browning
- For extra gooey cookies, slightly underbake and let them finish cooking on the hot pan
Nutrition
- Serving Size: 1 cookie
- Calories: 142
- Sugar: 12g
- Sodium: 98mg
- Fat: 7g
- Saturated Fat: 4g
- Unsaturated Fat: 2.5g
- Trans Fat: 0g
- Carbohydrates: 19g
- Fiber: 0.5g
- Protein: 1.5g
- Cholesterol: 22mg
Tips & Variations
The beauty of chocolate chip cookies is their versatility. Here are some delicious ways to customize this recipe:
Chocolate Variations:
- Mix dark, milk, and white chocolate chips for a triple chocolate experience
- Use chocolate chunks instead of chips for dramatic melted chocolate pools
- Add 1/4 cup cocoa powder to the dry ingredients for double chocolate chip cookies
Flavor Additions:
- Stir in 1 teaspoon espresso powder to intensify chocolate flavor
- Add 1 teaspoon cinnamon for warmth and depth
- Mix in 1 tablespoon orange zest for a sophisticated twist
- Replace vanilla with almond extract for a different flavor profile
Mix-In Options:
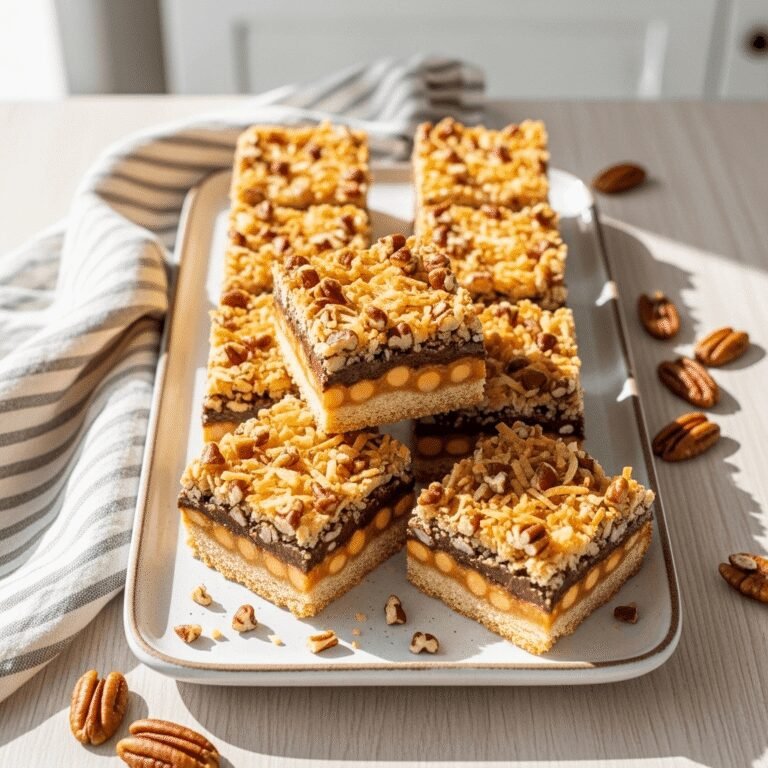
- Add 1 cup chopped nuts (walnuts, pecans, or macadamia)
- Fold in 1/2 cup shredded coconut
- Mix in 1/2 cup toffee bits or butterscotch chips
- Add 1/2 cup dried cranberries or cherries for fruity contrast
- Stir in 1/2 cup peanut butter chips for a PB chocolate combination
Texture Modifications:
- For crispier cookies: Bake 2-3 minutes longer and use all granulated sugar
- For chewier cookies: Use all brown sugar and slightly underbake
- For cake-like cookies: Add an extra egg and reduce butter by 2 tablespoons
- For flatter cookies: Don’t chill dough and bake at 350°F instead
Dietary Adaptations:
- Gluten-free: Use 1:1 gluten-free flour blend
- Dairy-free: Substitute vegan butter and dairy-free chocolate chips
- Lower sugar: Reduce sugar by 1/4 cup (texture will be slightly different)
- Add whole grain: Replace 1/2 cup all-purpose flour with whole wheat flour
Pro Chef Tips
These professional techniques will take your cookies from good to absolutely phenomenal:
Chill your dough: Professional bakeries often chill cookie dough for 24-72 hours before baking. This allows flour to fully hydrate, fats to solidify, and flavors to develop. Even 30 minutes in the fridge makes a noticeable difference in texture and taste.
Use quality chocolate: The chocolate is the star here, so use the best you can afford. Valrhona, Ghirardelli, or Guittard chips have higher cocoa butter content and create those beautiful melted puddles. Alternatively, hand-chop high-quality chocolate bars for varied chunk sizes.
Brown your butter: For an advanced technique, brown half the butter before creaming (let it cool first). This adds nutty, caramelized notes that create incredible depth. Mix the browned butter with regular butter for best results.
Add a sprinkle of flaky sea salt: Before baking, press a few flakes of Maldon or other flaky sea salt on top of each cookie. The salt contrast makes chocolate taste more intense and adds sophistication.
Control your oven temperature: Use an oven thermometer—most ovens run hot or cold. Proper temperature is crucial. Too hot creates crispy, overdone cookies; too cool makes them spread too much.
Underbake slightly: The secret to soft, chewy cookies is pulling them from the oven when they look almost underdone. The centers should appear slightly glossy and puffy. They’ll firm up as they cool on the hot pan.
Rest between batches: Always let baking sheets cool completely before adding new dough. Hot pans cause cookies to spread too quickly and bake unevenly.
Common Mistakes to Avoid
Even experienced bakers can stumble with cookies. Here’s how to avoid the most common pitfalls:
Using melted or too-soft butter: This is mistake number one. Butter should be softened (around 65-68°F) but still hold its shape. Melted butter creates flat, greasy cookies. Test by pressing your finger into the butter—it should leave an indent but not sink through.
Not measuring flour correctly: Scooping flour directly with your measuring cup packs it down, resulting in too much flour and dry, cakey cookies. Always spoon flour into your measuring cup and level it off with a knife, or better yet, use a kitchen scale.
Overbaking: Cookies continue cooking on the hot pan after removal from the oven (called carryover cooking). If they look fully done in the oven, they’ll be overdone once cooled. Remove them when edges are set but centers still look soft and slightly underdone.
Skipping the cooling time on the pan: Those crucial 5 minutes on the hot baking sheet allow cookies to set properly. Transfer too early and they’ll fall apart; too late and they’ll stick. Set a timer for this step.
Using old baking soda: Baking soda loses potency over time. If yours is more than 6 months old, test it by adding a pinch to vinegar—it should fizz vigorously. Old baking soda means cookies won’t spread or rise properly.
Overcrowding the pan: Cookies need room to spread. Place them at least 2 inches apart. Crowded cookies bake into each other and don’t develop those crispy edges we love.
Not bringing ingredients to room temperature: Cold eggs and butter don’t emulsify properly, resulting in denser cookies with uneven texture. Let refrigerated ingredients sit out for 30-60 minutes before starting.
Storage & Meal Prep
Proper storage keeps your chocolate chip cookies fresh and delicious for days:
Room Temperature Storage: Store completely cooled cookies in an airtight container at room temperature for up to 5 days. Layer cookies with parchment paper to prevent sticking. Add a slice of bread to the container—it releases moisture that keeps cookies soft (replace bread every 2 days).
Refrigerator Storage: Not recommended for these cookies, as refrigeration dries them out and makes them lose that perfect chewy texture. Only refrigerate if your kitchen is extremely hot and cookies are melting.
Reheating: To revive day-old cookies, microwave for 8-10 seconds (they’ll taste fresh-baked!) or warm in a 300°F oven for 3-4 minutes. This melts the chocolate slightly and softens the texture beautifully.
Keeping Cookies Soft: The trick to long-lasting soft cookies is proper cooling and immediate storage. As soon as cookies are completely cool (about 30 minutes), transfer to an airtight container. Exposure to air dries them out quickly.
Cookie Dough Preparation: You can make the dough 2-3 days ahead and store it covered in the refrigerator. Actually, this is preferred by many bakers because the dough develops deeper flavors. Let refrigerated dough sit at room temperature for 10-15 minutes before scooping and baking.
Make-Ahead & Freezer Notes
These cookies are incredibly freezer-friendly, making them perfect for advance preparation:
Freezing Baked Cookies: Let cookies cool completely, then arrange in a single layer on a baking sheet and freeze for 1 hour. Once frozen solid, transfer to a freezer bag or airtight container, separating layers with parchment paper. Freeze for up to 3 months. Thaw at room temperature for 20-30 minutes, or microwave for 15-20 seconds for that fresh-baked taste.
Freezing Cookie Dough (Recommended!): This is the ultimate make-ahead strategy. Scoop cookie dough into balls, freeze on a baking sheet until solid (about 2 hours), then transfer to a freezer bag. Label with date and baking instructions. Freeze for up to 3 months. Bake directly from frozen—just add 2-3 minutes to the baking time. No thawing required!
Flash Freezing Technique: For best results, freeze cookie dough balls individually before storing together. This prevents them from sticking and allows you to bake exactly how many cookies you want at any time. It’s like having a bakery in your freezer!
Making Cookie Dough Logs: Roll dough into 2-inch diameter logs, wrap tightly in plastic wrap, then aluminum foil. Freeze for up to 3 months. Slice into rounds and bake as needed. This method is perfect for slice-and-bake convenience.
Thawing and Baking: For best texture, bake cookies from frozen rather than thawing first. The gradual temperature increase creates a better texture. If baking from frozen dough, watch carefully and adjust time as needed.
Meal Prep for the Week: Bake a full batch on Sunday, store properly, and you’ll have fresh-tasting cookies all week for lunchboxes, after-school snacks, or dessert. They’re perfect for busy families who want homemade treats without daily baking.
Serving Suggestions
Chocolate chip cookies are delicious on their own, but here are some creative serving ideas:
Classic Pairings:
- Cold glass of whole milk (the traditional and still the best!)
- Hot coffee or espresso for an adult treat
- Vanilla ice cream for cookie ice cream sandwiches
- Hot chocolate with whipped cream on cozy evenings
Dessert Creations:
- Crumble over vanilla ice cream for a cookie sundae
- Sandwich ice cream between two cookies
- Serve warm with a scoop of ice cream on top (skillet cookie style)
- Layer in a trifle with pudding and whipped cream
- Crush and use as a pie crust for cheesecake
Party and Gift Ideas:
- Package in clear cellophane bags tied with ribbon for party favors
- Arrange on a platter with other homemade cookies for variety
- Create a cookie board with cookies, milk in mason jars, and fun toppings
- Stack in a decorative tin for thoughtful homemade gifts
- Serve with a DIY hot chocolate bar for holiday gatherings
Beverage Pairings:
- Sweet red wine like Port or late harvest Riesling
- Cold brew coffee for chocolate-coffee lovers
- Chai tea latte for warm spice notes
- Irish cream liqueur for an adults-only dessert
- Fresh squeezed orange juice for breakfast cookies
FAQs Section
Q: Why did my cookies turn out flat and spread too much?
A: Several factors cause excessive spreading: butter was too warm or melted, dough wasn’t chilled before baking, too much sugar, not enough flour, or oven temperature was too low. For thicker cookies, chill dough for 30 minutes before baking and ensure your butter is properly softened (not melted or too warm).
Q: Can I substitute margarine for butter in this recipe?
A: While you technically can, I don’t recommend it. Butter provides irreplaceable flavor and texture. Margarine has different fat and water content, resulting in cookies that spread more and lack that rich, buttery taste. If you must substitute, use stick margarine (not spread) and expect slightly different results.
Q: How do I make my cookies chewier?
A: For extra chewy cookies, use more brown sugar than white sugar (try 1 cup brown, 1/2 cup white), slightly underbake them, and make sure not to overbake. You can also add an extra egg yolk or chill the dough before baking, which prevents spreading and creates a chewier texture.
Q: Why are my cookies cakey instead of chewy?
A: Cakey texture usually comes from too much flour (measure carefully!), too many eggs, or overmixing the dough after adding flour. Make sure you’re spooning flour into your measuring cup rather than scooping, which packs it down. Also, mix just until combined once you add flour—overmixing develops gluten and creates cake-like texture.
Q: Can I make these cookies without eggs?
A: Yes! For each egg, substitute with 1 tablespoon ground flaxseed mixed with 3 tablespoons water (let sit 5 minutes to thicken), or use commercial egg replacer following package directions. Applesauce (1/4 cup per egg) also works but creates softer, more cake-like cookies. The texture will be slightly different but still delicious.
Q: How do I prevent my chocolate chips from sinking to the bottom?
A: Toss chocolate chips with 1 tablespoon of the flour from your recipe before folding them in. This light coating helps suspend them in the dough. Also, don’t overmix once you add the chips, and make sure your dough isn’t too warm or liquidy.
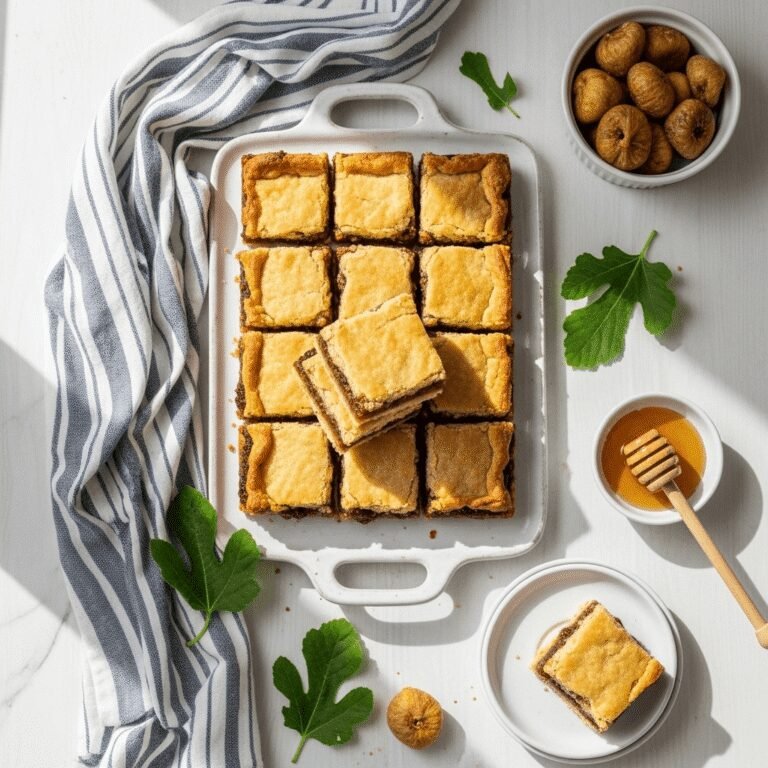
Q: Can I use this recipe to make cookie bars instead of individual cookies?
A: Absolutely! Press the dough into a greased 9×13-inch baking pan and bake at 350°F for 25-30 minutes, until edges are golden and center is set. Let cool completely before cutting into bars. This is a great time-saver for feeding crowds.
Conclusion
There you have it—the ultimate chocolate chip cookie recipe that’s been perfected through countless batches and guaranteed to become your go-to recipe for years to come. These cookies represent everything we love about homemade baking: simple ingredients transformed into something truly special, the joy of creating something delicious with your own hands, and the warm memories made while sharing them with people you love.
Whether you’re a beginner baker nervous about your first batch or an experienced home cook looking for a reliable recipe that delivers every time, these chocolate chip cookies won’t disappoint. They’re easy enough for a weeknight treat yet impressive enough to gift to neighbors or bring to holiday parties.
The best part? Every time you make these cookies, you’re carrying on a beautiful American tradition that started with Ruth Wakefield’s happy accident in 1938. You’re creating your own memories, filling your home with that irresistible aroma, and sharing warmth and sweetness with the people around you.
So what are you waiting for? Preheat that oven, grab your mixing bowls, and let’s get baking! Don’t forget to save this recipe to your Pinterest boards so you can find it easily next time that cookie craving hits (and it will!). I’d love to hear how your cookies turn out—leave a comment below sharing your experience, any creative variations you tried, or just to let me know how many disappeared straight from the cooling rack!
Happy baking, friends! May your cookies always be perfectly chewy, your chocolate chips always abundant, and your kitchen always smell like happiness. 🍪