The Best Wedding Cookies Recipe (Mexican Wedding Cookies)
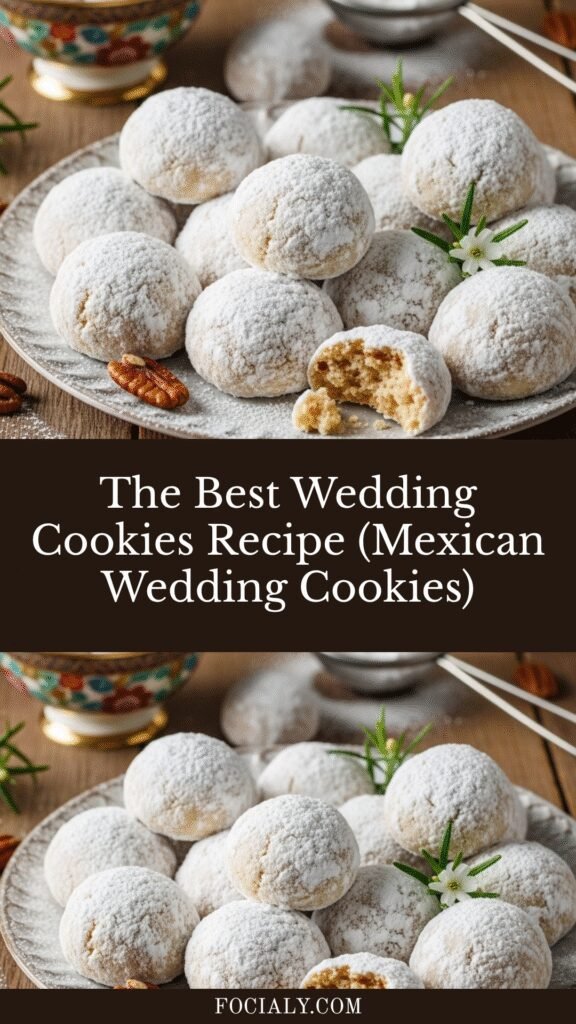
Wedding cookies are those melt-in-your-mouth, powdered sugar-dusted treats that disappear from dessert tables faster than you can say “one more!” These buttery, nutty cookies—also known as Mexican Wedding Cookies, Russian Tea Cakes, or Snowball Cookies—are a beloved classic that brings comfort and elegance to any occasion.
Despite their fancy name, wedding cookies aren’t just for weddings anymore. These delicate, crumbly cookies have become a year-round favorite, showing up at Christmas cookie exchanges, holiday parties, afternoon tea gatherings, and Sunday family dinners. They’re particularly popular during the winter months when their snowy appearance fits perfectly with the season’s aesthetic.
What makes wedding cookies so irresistible is their simplicity combined with sophistication. With just a handful of pantry staples—butter, flour, nuts, and powdered sugar—you can create cookies that look and taste like they came from a high-end bakery. They’re perfect for gift-giving, special occasions, or simply treating yourself to something sweet with your afternoon coffee.
The best part? These cookies are surprisingly easy to make, even for beginner bakers. There’s no chilling required, no cookie cutters needed, and no complicated decorating. Just mix, roll, bake, and coat in powdered sugar. Within an hour, you’ll have a batch of cookies that’ll make you look like a baking superstar.
History / Background
The history of wedding cookies is as rich and layered as their buttery texture. While they’re commonly called Mexican Wedding Cookies in the United States, these treats have variations across multiple cultures, each claiming their own version of this beloved dessert.
In Mexico, these cookies are traditionally known as “polvorones” (from the Spanish word “polvo” meaning dust or powder) or “biscochitos.” They’ve been a staple at Mexican weddings and celebrations for generations, where they symbolize prosperity and good fortune for the newlyweds. The round shape represents unity and completeness, while the white powdered sugar coating symbolizes purity and new beginnings.
However, similar cookies appear throughout Europe and the Middle East. In Russia, they’re called Russian Tea Cakes and were traditionally served alongside tea in aristocratic homes. Greeks make a nearly identical cookie called “kourabiedes,” which are especially popular during Christmas and Easter. In the Middle East, they’re known as “ghorayebah,” a buttery cookie that dates back centuries.
The most likely origin story traces these cookies back to medieval Arab cuisine, where shortbread-style cookies made with clarified butter and nuts were common. As trade routes expanded, the recipe traveled through Europe and eventually to the Americas with Spanish colonizers. Each culture adapted the recipe to their local ingredients and traditions, but the core concept remained the same: a tender, buttery cookie made special with nuts and a generous coating of powdered sugar.
In the United States, wedding cookies gained massive popularity in the mid-20th century, appearing in community cookbooks and women’s magazines. They became a Christmas cookie tradition for many American families, loved for their elegant appearance and ability to be made ahead. The name “Mexican Wedding Cookies” became the most common American name, though many families still call them by their regional names based on their heritage.
Today, wedding cookies represent the beautiful way food connects cultures. Whether you call them Mexican Wedding Cookies, Russian Tea Cakes, Snowballs, or Butterball Cookies, you’re participating in a global tradition of celebrating life’s special moments with something sweet and homemade.
Why You’ll Love This Recipe
This wedding cookies recipe strikes the perfect balance between elegant and effortless. These cookies look impressive enough for a fancy wedding dessert table but are simple enough to whip up on a weeknight when you’re craving something sweet. The combination of buttery richness, nutty depth, and sweet powdered sugar creates an addictive flavor that keeps everyone reaching for “just one more.”
Here’s why this recipe will become your go-to:
- Incredibly easy to make – No complicated techniques, no special equipment, just simple mixing and rolling
- Only 6 basic ingredients – You probably have everything in your pantry right now
- No chilling required – Unlike many cookie recipes, you can go straight from mixing to baking
- Perfect make-ahead option – These cookies actually taste better after a day or two and freeze beautifully
- Melt-in-your-mouth texture – The fine, crumbly texture literally dissolves on your tongue
- Naturally gluten-free option – Easy to adapt with gluten-free flour blends
- Budget-friendly – Makes a large batch without expensive ingredients
- Elegant presentation – They look bakery-quality with zero decorating skills needed
- Versatile for any occasion – Christmas, weddings, showers, gifts, or Tuesday afternoon snacks
- Kid-friendly – Children love helping roll these into balls and coat them in sugar
- Crowd-pleaser – I’ve never met anyone who doesn’t love these cookies
Ingredient Notes
The beauty of wedding cookies lies in their simplicity. Each ingredient plays a crucial role in creating that signature tender, crumbly texture and rich buttery flavor.
Butter – Use unsalted butter at room temperature for the best results. The butter is the star of these cookies, providing richness and that melt-in-your-mouth quality. European-style butter with higher fat content will make even more luxurious cookies. Don’t substitute with margarine or shortening—real butter makes all the difference.
Powdered Sugar – You’ll need it both in the dough and for coating. Also called confectioners’ sugar or icing sugar, this finely ground sugar dissolves easily into the dough and creates that signature snowy coating. Make sure it’s fresh—old powdered sugar can taste stale.
All-Purpose Flour – Standard all-purpose flour works perfectly. For gluten-free cookies, use a 1-to-1 gluten-free baking flour blend. Avoid cake flour (too delicate) or bread flour (too much protein).
Vanilla Extract – Pure vanilla extract adds warmth and depth. Use the real stuff, not imitation—you’ll taste the difference. For a twist, try almond extract or a combination of both.
Salt – Just a pinch enhances all the other flavors and balances the sweetness. Don’t skip it!
Nuts – Traditionally made with pecans or walnuts, finely chopped or ground. Pecans are more traditional and slightly sweeter, while walnuts have a more robust flavor. You can also use almonds or hazelnuts. Toast the nuts before chopping for extra flavor depth. For nut-free versions, substitute with finely ground sunflower seeds, though the texture and flavor will differ.
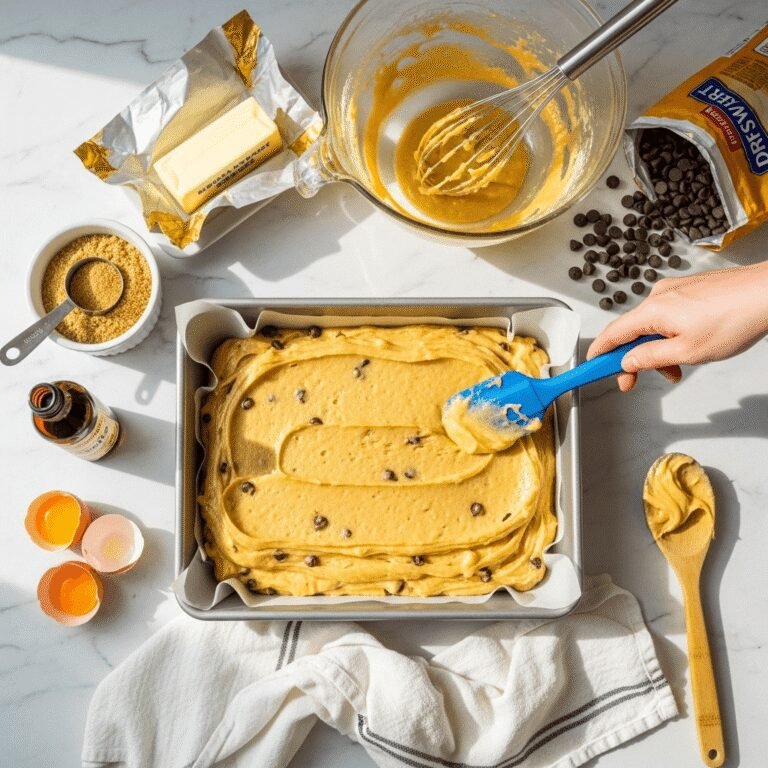
Equipment Needed
You don’t need fancy equipment to make perfect wedding cookies. Here’s what you’ll need:
- Large mixing bowl – For combining your ingredients
- Electric hand mixer or stand mixer – Makes creaming the butter much easier, though you can do it by hand
- Measuring cups and spoons – For accurate measurements
- Food processor or knife – For finely chopping the nuts
- Cookie scoop or tablespoon – Helps make uniform-sized cookies (1-tablespoon size works perfectly)
- Baking sheets – Two or three for efficient baking
- Parchment paper or silicone baking mats – Prevents sticking and makes cleanup easy
- Wire cooling rack – For cooling cookies properly
- Shallow bowl – For rolling cookies in powdered sugar
- Airtight container – For storing your finished cookies
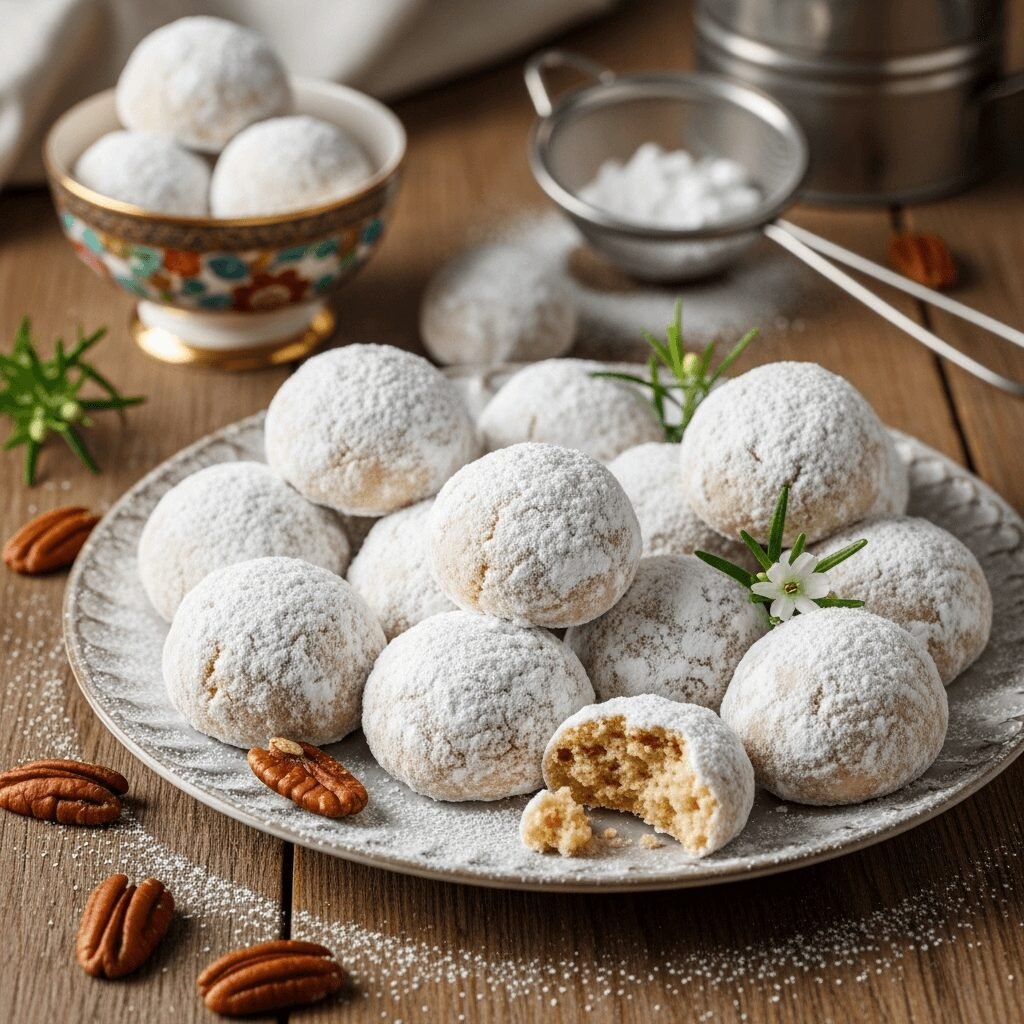
Wedding Cookies Recipe

These classic Mexican Wedding Cookies are buttery, nutty, and coated in sweet powdered sugar. With a tender, melt-in-your-mouth texture and rich pecan flavor, they’re perfect for holidays, weddings, cookie exchanges, or any special occasion. Simple ingredients create an elegant result!
- Prep Time: 15 minutes
- Cook Time: 12-15 minutes
- Total Time: 30 minutes (plus cooling)
- Yield: 48 cookies 1x
- Category: Dessert
- Method: Baking
- Cuisine: Mexican / American
- Diet: Vegetarian
Ingredients
- 1 cup (2 sticks / 226g) unsalted butter, softened to room temperature
- 1/2 cup (60g) powdered sugar, plus 1-2 cups more for coating
- 1 teaspoon pure vanilla extract
- 2 cups (250g) all-purpose flour
- 1/4 teaspoon salt
- 1 cup (120g) pecans or walnuts, very finely chopped or ground
Instructions
- Preheat and Prep: Preheat your oven to 350°F (175°C). Line two baking sheets with parchment paper or silicone baking mats. Set aside.
- Prepare the Nuts: If you haven’t already, finely chop or grind your pecans. You want them fine but not powdery—some small chunks add nice texture. A food processor works great; just pulse until finely ground but stop before it becomes nut butter.
- Cream Butter and Sugar: In a large mixing bowl, beat the softened butter and 1/2 cup powdered sugar together using an electric mixer on medium speed. Beat for 2-3 minutes until the mixture is light, fluffy, and pale in color. This incorporates air and creates that tender texture.
- Add Vanilla: Mix in the vanilla extract until fully combined, about 30 seconds.
- Combine Dry Ingredients: In a separate bowl, whisk together the flour and salt. This ensures even distribution of the salt.
- Mix the Dough: Add the flour mixture to the butter mixture and beat on low speed until just combined. Don’t overmix—stop as soon as you don’t see dry flour anymore. Overmixing develops gluten and makes tough cookies.
- Add the Nuts: Fold in the finely chopped pecans using a spatula or wooden spoon until evenly distributed throughout the dough.
- Shape the Cookies: Using a tablespoon or small cookie scoop (about 1 tablespoon of dough), scoop portions and roll them between your palms into smooth balls. Place them on the prepared baking sheets about 2 inches apart. These cookies don’t spread much, so you can fit quite a few on each sheet.
- Bake: Bake for 12-15 minutes, until the bottoms are lightly golden but the tops remain pale. Don’t overbake—you want them just set but still very pale on top. They’ll seem slightly soft when you remove them, but they’ll firm up as they cool.
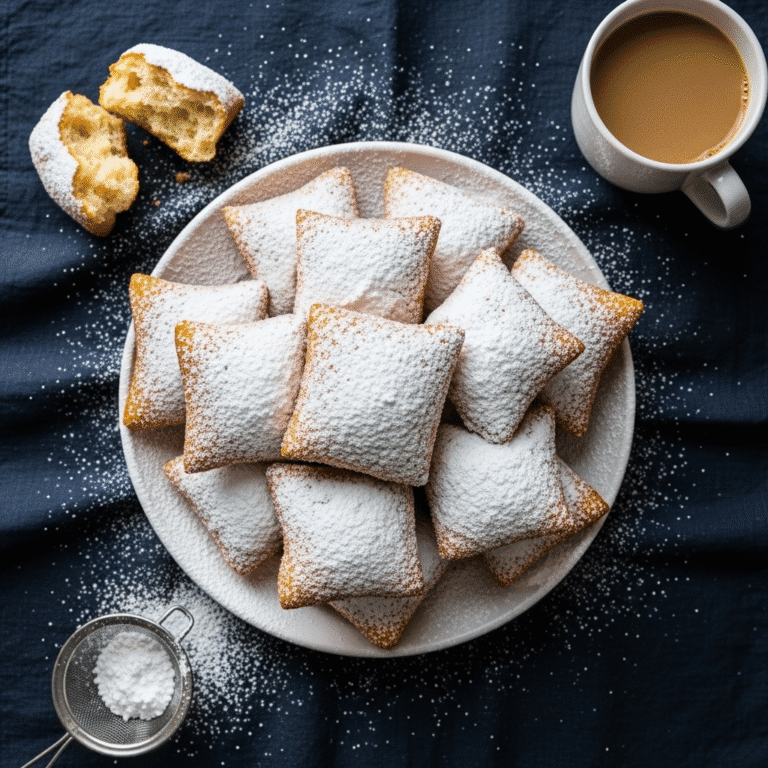
- First Sugar Coating: Let the cookies cool on the baking sheet for about 5 minutes—just until you can handle them without burning yourself. While they’re still warm (this is important!), gently roll each cookie in powdered sugar to coat completely. Place them on a wire rack to cool completely.
- Second Sugar Coating: Once the cookies are completely cool (about 30 minutes), roll them in powdered sugar again. This second coating gives them that beautiful thick, snowy appearance and extra sweetness.
- Serve and Enjoy: Your wedding cookies are ready to serve! Store any leftovers in an airtight container.
Notes
- Room Temperature Butter is Key: Make sure your butter is truly softened (it should leave an indent when pressed but not be melting). This ensures proper creaming and the right texture.
- Don’t Overbake: These cookies should be pale on top. If they brown, they’ll be dry and crumbly in a bad way.
- Warm Cookie Coating: The first powdered sugar coating MUST be done while cookies are still warm—the heat helps the sugar stick and creates a base layer for the second coating.
- Size Matters: Keep cookies uniform in size so they bake evenly. Too large and they won’t cook through; too small and they’ll dry out.
- Nut Fineness: The finer you chop the nuts, the more delicate your cookies will be. Larger chunks create a more rustic texture.
- Storage: These cookies actually improve in flavor after a day as the powdered sugar coating softens slightly.
Nutrition
- Serving Size: 1 cookie
- Calories: 85
- Sugar: 5g
- Sodium: 15mg
- Fat: 6g
- Saturated Fat: 3g
- Unsaturated Fat: 2.5g
- Trans Fat: 0g
- Carbohydrates: 8g
- Fiber: 0.5g
- Protein: 1g
- Cholesterol: 10mg
Note: Nutrition information is approximate and will vary based on specific ingredients used and cookie size.
Tips & Variations
Flavor Variations:
- Chocolate Dipped: Once completely cooled, dip the bottom half of each cookie in melted dark or white chocolate
- Lemon Wedding Cookies: Add 1 tablespoon lemon zest and use lemon extract instead of vanilla
- Almond Version: Replace pecans with almonds and use almond extract
- Cinnamon Spice: Add 1/2 teaspoon cinnamon to the dough for a warm, spiced version
- Orange Pecan: Add 2 teaspoons orange zest for a citrusy twist
- Espresso: Add 1 tablespoon instant espresso powder for a mocha flavor
- Chai Spiced: Add 1/2 teaspoon each of cinnamon, ginger, and cardamom
Dietary Adaptations:
- Gluten-Free: Use a 1-to-1 gluten-free baking flour blend (Bob’s Red Mill or King Arthur work great)
- Vegan: Substitute plant-based butter (Earth Balance sticks work best) and ensure your powdered sugar is vegan
- Lower Sugar: Reduce the powdered sugar in the dough to 1/4 cup (the coating provides plenty of sweetness)
- Nut-Free: Replace pecans with ground sunflower seeds or pepitas, though the flavor will be different
Texture Preferences:
- Extra Tender: Replace 2 tablespoons of flour with cornstarch for an even more delicate texture
- Chunkier: Leave nut pieces larger for more texture
- Finer Crumb: Process the pecans into a fine powder
Pro Chef Tips
Toast Your Nuts First: Before chopping, toast pecans in a 350°F oven for 5-7 minutes. This enhances their flavor dramatically and adds depth to the cookies. Let them cool completely before chopping.
Use a Scale for Precision: Weight measurements are more accurate than volume. If you have a kitchen scale, use it for the flour (250g) and butter (226g) for the most consistent results every time.
Temperature Control is Everything: Butter that’s too soft will make cookies that spread too much and turn out flat. Butter that’s too cold won’t cream properly and creates dense cookies. Aim for 65-68°F—it should be cool to the touch but pliable.
The Two-Sugar Coat Technique: Professional bakers always do two coatings. The first warm coating creates adhesion, and the second cold coating creates that gorgeous thick layer you see in bakery cookies. Skip the second coat at your peril!
Rest the Dough if Needed: If your kitchen is very warm and the dough feels too soft to roll, refrigerate it for 10-15 minutes. This makes handling much easier.
Even Sizing with a Scoop: Use a tablespoon-sized cookie scoop for perfectly uniform cookies that bake evenly. This is the secret to professional-looking results.
Don’t Skip the Cooling Time: Letting cookies rest on the pan for 5 minutes before moving allows them to set properly. Moving them too soon causes breaks; leaving them too long makes them stick.
Sifting the Final Sugar: For the absolute prettiest presentation, sift your final coating of powdered sugar over the cookies instead of rolling. This creates an ultra-fine, professional appearance.
Common Mistakes to Avoid
Overbaking the Cookies: This is the #1 mistake! Wedding cookies should be pale on top. If they turn golden brown, they’ll be dry and crumbly instead of tender. Set a timer for 12 minutes and check them—they should be just set and lightly golden only on the bottom.
Rolling Cookies in Cold Sugar Coating: If you wait until cookies are completely cool for the first sugar coating, the sugar won’t stick properly. You’ll end up with patches instead of a nice even coat. Always do the first coating while cookies are still quite warm.
Using Old or Rancid Nuts: Nuts contain oils that go rancid over time. Taste your pecans before using them—if they taste bitter or off, they’ll ruin your cookies. Always store nuts in the freezer for freshness.
Overmixing the Dough: Once you add the flour, mix just until combined. Overmixing develops gluten and creates tough, hard cookies instead of that delicate, crumbly texture you want.
Not Grinding Nuts Finely Enough: Large nut chunks can cause cookies to crack or break apart. Take the time to chop or grind them finely. They should be about the size of coarse sand, not pebbles.
Placing Dough on Hot Baking Sheets: If you’re reusing baking sheets between batches, make sure they’ve cooled down completely. Placing dough on hot sheets causes the bottoms to cook too fast while the tops stay raw.
Skipping the Second Sugar Coating: Yes, it seems like extra work, but this second coating is what gives wedding cookies their signature appearance and extra sweetness. It’s worth the two minutes it takes!
Storage & Meal Prep
Room Temperature Storage: Store completely cooled wedding cookies in an airtight container at room temperature for up to 2 weeks. Place parchment paper or wax paper between layers to prevent sticking. Fun fact: these cookies actually taste better after a day or two as the flavors meld and the powdered sugar coating softens slightly into the cookie.
Refrigerator Storage: While not necessary, you can refrigerate these cookies for up to 3 weeks in an airtight container. Let them come to room temperature before serving for the best texture and flavor. Some people prefer them slightly chilled on hot summer days!
Freezer Storage: Wedding cookies freeze beautifully! Place cookies in a freezer-safe container or bag with parchment between layers. They’ll keep for up to 3 months frozen. No need to thaw—let them sit at room temperature for 15-20 minutes and they’re ready to eat. The powdered sugar may absorb a bit during freezing; you can do a quick re-roll in fresh sugar if desired.
Maintaining Freshness: The powdered sugar coating can absorb moisture over time, making cookies look less pristine. If you’re storing them for more than a few days, you can refresh them with a light dusting of powdered sugar before serving.
Gift Giving: These cookies are perfect for holiday gift tins! Layer them between parchment paper in decorative tins or boxes. They ship well too—just pack them carefully with crumpled parchment paper to prevent movement.
Make-Ahead & Freezer Notes
Make the Dough Ahead: You can prepare the dough up to 3 days in advance. Shape it into a disk, wrap tightly in plastic wrap, and refrigerate. Let it sit at room temperature for 10-15 minutes before rolling into balls and baking.
Freeze Unbaked Dough: Roll the dough into balls and freeze them on a baking sheet. Once solid, transfer to a freezer bag for up to 3 months. Bake directly from frozen, adding 2-3 extra minutes to the baking time. This is perfect for having fresh cookies whenever you want!
Bake and Freeze: The most convenient method is to fully bake the cookies, do the first powdered sugar coating, let them cool completely, then freeze. When ready to serve, thaw them and do the second sugar coating. They taste freshly baked!
Party Prep Timeline: For events, I recommend baking these cookies 2-3 days ahead. They’re actually at their peak flavor after resting a day or two. Store in an airtight container and do a final light dusting of powdered sugar the day of your event for the prettiest presentation.
Portion Control Tip: Freeze cookies individually on a baking sheet before transferring to a container. This way you can grab just one or two whenever a craving hits, rather than having to thaw an entire batch.
Serving Suggestions
Wedding cookies are incredibly versatile and pair beautifully with both hot and cold beverages. Here are some delicious ways to serve them:
Beverage Pairings:
- Hot coffee or espresso (the classic pairing!)
- Spiced chai tea or Mexican hot chocolate
- Champagne or sparkling wine at weddings and celebrations
- Port wine or dessert wine for an elegant after-dinner treat
- Cold milk for kids (and adults who love cookies and milk!)
- Iced tea or lemonade for summer gatherings
Dessert Table Ideas:
- Arrange on a cake stand with fresh flowers for weddings or showers
- Mix with other cookies in a holiday cookie box or tin
- Serve alongside fresh fruit and whipped cream for a light dessert
- Pair with small portions of flan or tres leches cake for a Mexican-inspired menu
- Include in a dessert grazing board with chocolates, berries, and nuts
Special Occasions:
- Christmas Cookie Exchange: These are always a hit and ship well
- Wedding Favors: Package 3-4 cookies in cellophane bags tied with ribbon
- Bridal or Baby Showers: Arrange on pretty platters with pastel-colored napkins
- Holiday Gift Giving: Layer in decorative tins with parchment paper
- Afternoon Tea: Serve with finger sandwiches and scones
- Coffee Bar Addition: Set out a plate next to your coffee maker for guests
Presentation Tips: Dust with extra powdered sugar right before serving for the freshest look. Arrange on pretty platters with doilies for a vintage vibe, or use modern geometric serving dishes for contemporary style. Garnish the plate with fresh mint leaves or a few whole pecans for visual interest.
FAQs Section
Q: Why are my wedding cookies falling apart or crumbling too much?
A: This usually happens from overbaking or not enough butter in the dough. Make sure you’re measuring flour correctly (spoon and level, don’t pack) and not overbaking. The cookies should be just set and pale on top. Also, check that your butter is properly softened before mixing—cold butter won’t incorporate properly.
Q: Can I use salted butter instead of unsalted?
A: You can, but reduce the added salt to just a pinch (about 1/8 teaspoon). Using unsalted butter gives you better control over the salt level in your cookies. Since butter brands vary in saltiness, unsalted is more reliable for consistent results.
Q: My cookies turned out flat instead of round. What happened?
A: Flat cookies usually result from butter that was too warm or melted. Make sure your butter is softened but still cool to the touch, not sitting out so long that it’s greasy or shiny. Also, if your kitchen is very warm, you might need to chill the dough for 10-15 minutes before rolling.
Q: Do I have to use pecans, or can I use other nuts?
A: Absolutely! Walnuts are the second most traditional choice and work beautifully. You can also use almonds, hazelnuts, or macadamia nuts. Each nut brings its own flavor profile. For nut allergies, try finely ground sunflower seeds or pepitas, though the taste will be different.
Q: Can I make these cookies without a mixer?
A: Yes! You can cream the butter and sugar by hand with a wooden spoon or whisk, it just takes more arm work (about 5-7 minutes of vigorous stirring). Make sure your butter is really soft to make this easier. The dough will come together just fine.
Q: Why do wedding cookies have different names?
A: These cookies appear in many cultures under different names: Mexican Wedding Cookies (USA/Mexico), Russian Tea Cakes (Russia/USA), Snowball Cookies (USA), Italian Wedding Cookies (though Italian wedding cookies are actually different!), Butterballs, Kourabiedes (Greece), and Polvorones (Spain/Mexico). They’re all variations on the same basic concept of a butter-nut cookie coated in powdered sugar.
Q: How do I prevent the powdered sugar from being absorbed too quickly?
A: The sugar naturally absorbs into the cookie over time, which is actually desirable as it creates a softer coating. However, if you need them to look pristine for a party, do the second sugar coating as close to serving time as possible, or give them a final light dusting right before presenting. Storing cookies in a container with a piece of bread doesn’t help (that’s for keeping cookies soft, but these are meant to be slightly crumbly).
Conclusion
There’s something magical about wedding cookies—their delicate texture, buttery richness, and snowy appearance make every occasion feel special. Whether you’re baking them for a holiday cookie exchange, a wedding celebration, or simply because it’s Tuesday and you deserve something sweet, these little gems never disappoint.
The beauty of this recipe is its simplicity. You don’t need fancy techniques or hard-to-find ingredients to create cookies that look and taste like they came from a professional bakery. Just good butter, fresh nuts, and a little time in the kitchen will reward you with cookies that’ll have everyone asking for the recipe.
I love that these cookies carry so much history and cultural significance while being completely approachable for modern home bakers. Every time you make them, you’re connecting to a tradition that spans continents and generations. That’s pretty special for something made from just six ingredients!
So grab your mixing bowl and give these wedding cookies a try. Make a double batch—one for sharing and one for “quality control” (we all know they disappear fast!). And when people tell you they’re the best cookies they’ve ever had, just smile and enjoy the compliment.
I’d love to hear how your wedding cookies turn out! Leave a comment below with your results, any fun variations you tried, or questions you have. And if you love this recipe, please save it to your Pinterest boards so you can find it again—and share it with your friends who love baking as much as we do! Happy baking! 🍪✨