Perfect Angel Food Cake Recipe – Light, Fluffy & Heavenly!

Angel food cake is pure heaven on a plate—a cloud-like dessert so light and airy it practically floats. This classic American cake is beloved for its impossibly tender crumb, snow-white interior, and delicate sweetness that makes it the perfect canvas for fresh berries, whipped cream, or a simple dusting of powdered sugar. Made entirely without butter, oil, or egg yolks, this angel food cake recipe relies on the magic of whipped egg whites to create its signature ethereal texture.
What makes this homemade angel food cake truly special is its versatility and timeless appeal. It’s naturally low in fat, making it a lighter dessert option that doesn’t sacrifice flavor or satisfaction. Perfect for spring and summer celebrations, birthdays, Mother’s Day, Easter brunch, or any time you want an elegant dessert that feels both special and refreshing. Serve it with fresh strawberries and whipped cream for a classic pairing, or get creative with lemon curd, chocolate ganache, or seasonal fruit compotes. This fluffy angel food cake is easier to make than you might think and delivers bakery-quality results every time.
History / Background
Angel food cake has a fascinating history deeply woven into American culinary tradition, dating back to the late 19th century. The cake’s origins coincide perfectly with two important developments in American home baking: the invention of the rotary egg beater in the 1850s and 1860s, and the increasing availability of refined white sugar and commercial baking powder in the 1870s and 1880s. Before these innovations, whipping egg whites to stiff peaks by hand was an exhausting, time-consuming task that few home cooks were willing to undertake.
The first known printed recipe for angel food cake appeared in the 1878 cookbook “Housekeeping in Old Virginia,” though the dessert likely existed in home kitchens before being formally documented. The name “angel food cake” reflects both its heavenly lightness and its pure white color, which many 19th-century Americans associated with purity, virtue, and divine perfection. The cake was often served at church socials, ladies’ luncheons, and special celebrations, earning a reputation as a refined, elegant dessert suitable for the most important occasions.
During the Victorian era and into the early 20th century, angel food cake became enormously popular across America, particularly because it offered an ingenious solution to a common kitchen dilemma. Many recipes of that time called for egg yolks in custards, ice creams, and rich cakes, leaving home cooks with bowls full of leftover egg whites. Angel food cake provided the perfect way to use those whites, preventing waste and creating something spectacular in the process. The cake became so beloved that special tube pans with removable bottoms and “feet” (legs that allow the pan to be inverted for cooling) were designed specifically for baking it.
The cake’s popularity soared during World War II when butter and other fats were rationed. Since angel food cake requires no butter or oil, it became a patriotic dessert that allowed families to enjoy something sweet without using precious rationed ingredients. Women’s magazines and government pamphlets promoted the cake as a way to contribute to the war effort while still celebrating special occasions.
Throughout the 1950s and 1960s, angel food cake reached peak American popularity, often served at bridge clubs, garden parties, and church gatherings. The introduction of boxed angel food cake mixes in the 1950s made it even more accessible, though purists maintained that homemade versions were far superior. Today, while the cake remains a classic, there’s been a resurgence of interest in making it from scratch, with home bakers appreciating both its nostalgic charm and its naturally low-fat profile that fits modern dietary preferences.
Why You’ll Love This Recipe
This classic angel food cake recipe is about to become your go-to for impressive, crowd-pleasing desserts that are surprisingly simple to make. The combination of spectacular results and straightforward technique makes this recipe absolutely perfect for both beginner bakers looking to master a classic and experienced home cooks who want a reliable, foolproof method.
Here’s why this angel food cake will win your heart:
- Naturally Low-Fat: Made without butter, oil, or egg yolks, making it a lighter dessert option at only about 130 calories per slice
- Impressive Yet Achievable: Looks and tastes like it came from a fancy bakery, but uses simple techniques any home cook can master
- Incredibly Versatile: Serves as a perfect base for countless toppings and flavor combinations—strawberries, chocolate, lemon, or berries
- Uses Simple Ingredients: Requires only basic pantry staples—no exotic ingredients or special purchases needed
- Foolproof Method: This recipe includes detailed instructions and tips that practically guarantee success, even for first-timers
- Perfectly Light Texture: That signature airy, cloud-like crumb that melts in your mouth with every bite
- Crowd-Pleaser: Universally loved by kids and adults alike—a guaranteed hit at any gathering
- Elegant Presentation: The tall, impressive appearance makes any occasion feel special without requiring fancy decorating skills
- Naturally Gluten-Light: While not gluten-free (it contains cake flour), it has less gluten than butter cakes, giving it that tender texture
- Great for Gifting: Wrap it beautifully and give as a thoughtful homemade gift that truly impresses
- Customizable Flavors: Easy to infuse with vanilla, almond, lemon, or other extracts for endless variations
- Perfect Any Season: Light enough for summer berries, festive enough for holiday celebrations
Ingredient Notes
Understanding your ingredients is crucial for angel food cake success. Here’s what you need and why each component matters:
Egg Whites: The star of the show! You’ll need egg whites from 12 large eggs (about 1½ cups). They create the entire structure of the cake through the air bubbles formed when whipped. Use room temperature egg whites for maximum volume—they whip up higher and fluffier than cold whites. Save those yolks for custards, carbonara, or lemon curd! Make sure absolutely no yolk gets into the whites, as even a tiny bit of fat will prevent proper whipping.
Cream of Tartar: This magical ingredient stabilizes the egg whites, helping them hold their shape and preventing deflation. It’s an acid that strengthens the protein bonds in egg whites, ensuring your cake rises beautifully and maintains its structure. Don’t skip it—it’s absolutely essential for angel food cake success. If you don’t have cream of tartar, you can substitute with ½ teaspoon white vinegar or lemon juice per egg white, though cream of tartar works best.
Granulated Sugar (divided): Sugar serves multiple purposes—it sweetens, stabilizes the egg white foam, and helps create the cake’s tender texture. The recipe uses sugar in two additions: some gets beaten into the egg whites gradually to create a stable meringue, while the rest gets sifted with the flour to ensure even distribution. Use regular granulated sugar, not powdered or superfine, for the best results.
Cake Flour: Cake flour has less protein than all-purpose flour, resulting in a more tender, delicate crumb—perfect for angel food cake’s ethereal texture. The low protein content means less gluten development, keeping the cake light and airy. It must be sifted multiple times to remove any lumps and incorporate air. If you don’t have cake flour, you can make a substitute: for each cup of cake flour needed, measure 1 cup all-purpose flour, remove 2 tablespoons, and replace with 2 tablespoons cornstarch, then sift together several times.
Salt: Just a small amount enhances all the other flavors and balances the sweetness. It’s a tiny but important ingredient that makes the cake taste more complex rather than one-dimensionally sweet.
Pure Vanilla Extract: Provides that classic, sweet flavor that complements the cake’s delicate taste. Always use pure vanilla extract rather than imitation for the best flavor. You can also use almond extract for a different flavor profile, or a combination of both.
Water: Adds moisture to the batter, helping create a tender crumb. Some recipes omit this, but a small amount ensures the cake isn’t too dry and helps the flour incorporate smoothly.
Equipment Needed
Angel food cake requires a few specific tools for success. Here’s what you’ll need:
- 10-Inch Tube Pan (Angel Food Cake Pan): This is essential—not optional! The pan must have a removable bottom and “feet” or a neck that allows it to be inverted while cooling. Do NOT use a non-stick pan or grease the pan; the batter needs to cling to the sides to rise properly. A standard Bundt pan won’t work as it’s greased and doesn’t allow for proper rising and cooling.
- Large Mixing Bowl: For whipping the egg whites. Make sure it’s completely clean, dry, and grease-free. Even a tiny bit of grease will prevent whites from whipping. Glass, stainless steel, or copper bowls work best; avoid plastic as it can retain grease.
- Electric Mixer: A stand mixer with whisk attachment is ideal, but a handheld electric mixer works perfectly too. While angel food cake can technically be made with a hand whisk, it’s extremely tiring and time-consuming—not recommended unless you have exceptional arm strength and patience!
- Fine-Mesh Sieve or Sifter: For sifting the flour mixture multiple times. This step is crucial for removing lumps and aerating the flour.
- Rubber Spatula: A large, flexible rubber spatula is essential for gently folding ingredients together without deflating the egg whites.
- Measuring Cups and Spoons: For accurate measurements. When measuring flour, spoon it into the measuring cup and level off—don’t pack it.
- Separate Small Bowls: For separating eggs (one at a time into a small bowl before adding to the main bowl prevents one bad egg from ruining the whole batch).
- Wire Cooling Rack: For cooling the inverted cake.
- Long Serrated Knife or Angel Food Cake Cutter: For slicing the finished cake without compressing its delicate structure.
- Bottle or Funnel: If your pan doesn’t have feet, you’ll need a sturdy bottle (like a wine bottle) to invert the pan over while cooling.
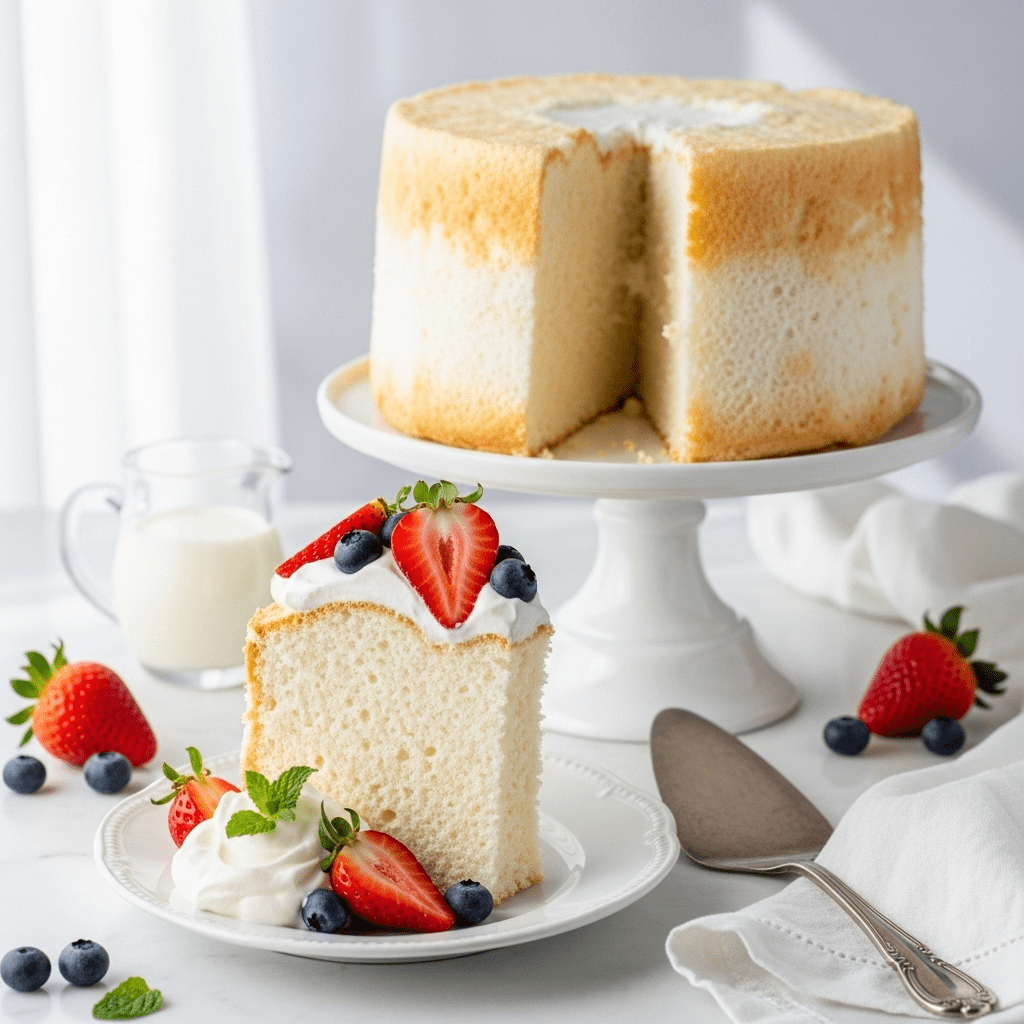
Perfect Angel Food Cake Recipe – Light, Fluffy & Heavenly!

This classic angel food cake recipe creates the most heavenly light, fluffy, and tender cake you’ve ever tasted. Made with whipped egg whites, cake flour, and just a touch of vanilla, this homemade angel food cake delivers that signature cloud-like texture and delicate sweetness that makes it perfect for any celebration. Naturally low in fat and incredibly versatile, serve it with fresh berries, whipped cream, or your favorite toppings for an impressive dessert that’s easier to make than you think!
- Prep Time: 25 minutes
- Cook Time: 40 minutes
- Total Time: 3 hours 5 minutes (including cooling time)
- Yield: 12 servings 1x
- Category: Dessert
- Method: Baking
- Cuisine: American
- Diet: Low Fat
Ingredients
- 12 large egg whites (about 1½ cups), at room temperature
- 1½ teaspoons cream of tartar
- ¼ teaspoon salt
- 1½ cups granulated sugar, divided
- 1 cup cake flour, sifted
- 1½ teaspoons pure vanilla extract
- ½ teaspoon almond extract (optional, but delicious)
- 2 tablespoons water
For Serving (Optional):
- Fresh berries (strawberries, raspberries, blueberries)
- Whipped cream
- Powdered sugar for dusting
Instructions
- Prepare Your Pan and Oven: Position an oven rack in the lower third of your oven and preheat to 350°F (175°C). Make absolutely sure your 10-inch tube pan is clean, dry, and ungreased. Any grease will prevent the cake from rising properly. Set the pan aside.
- Sift Dry Ingredients: In a medium bowl, sift together the cake flour, ¾ cup of the sugar, and salt. Sift this mixture three more times (for a total of four siftings). This crucial step removes all lumps, aerates the flour, and ensures even distribution of ingredients. Set aside.
- Prepare Egg Whites: Ensure your large mixing bowl and whisk attachment are completely clean, dry, and grease-free. Add the room temperature egg whites to the bowl. Using an electric mixer on medium speed, beat the egg whites until foamy, about 1-2 minutes. The mixture should look frothy with small bubbles throughout.
- Add Cream of Tartar: Add the cream of tartar to the foamy egg whites. Continue beating on medium speed for another minute. The cream of tartar stabilizes the whites and helps them achieve maximum volume.
- Gradually Add Sugar: With the mixer running on medium-high speed, gradually add the remaining ¾ cup sugar, about 2 tablespoons at a time, beating for about 10 seconds between each addition. This slow, gradual addition is crucial—adding sugar too quickly can deflate the whites. Once all the sugar is added, increase speed to high and beat until the mixture forms stiff, glossy peaks, about 2-3 minutes. When you lift the whisk, the peaks should stand straight up without drooping. The mixture should look shiny and smooth, like marshmallow fluff.
- Add Flavorings: Gently beat in the vanilla extract, optional almond extract, and water on low speed for just 5-10 seconds until combined.
- Fold in Flour Mixture: This is the most critical step! Remove the bowl from the mixer. Sift about one-third of the flour mixture over the egg white mixture. Using a large rubber spatula, gently fold it in with a light hand, using broad, sweeping motions from the bottom of the bowl up and over the top. Rotate the bowl as you fold. Don’t stir or beat—you want to maintain as much air as possible. Repeat with the remaining flour mixture in two more additions, folding gently each time until just combined. A few small flour streaks are okay; overmixing will deflate the whites.
- Transfer to Pan: Gently pour or spoon the batter into the ungreased tube pan, spreading it evenly. Run a butter knife or skewer through the batter in a circular motion to release any large air pockets, but be gentle—don’t deflate the batter.
- Bake: Bake on the lower oven rack for 40-45 minutes, until the top is golden brown and springs back when lightly pressed. The cake should have risen significantly and the top should have visible cracks. A toothpick inserted near the center should come out clean or with just a few dry crumbs.
- Cool Inverted (CRITICAL STEP): Immediately upon removing from the oven, invert the pan upside down. If your pan has feet, let it rest on those. If not, place the center tube over a sturdy bottle neck (like a wine bottle) or funnel to suspend it. This upside-down cooling is absolutely essential—it prevents the cake from collapsing as it cools and helps maintain its height. Let the cake cool completely in this inverted position, about 2-3 hours. Do not try to remove it while warm or it will collapse!
- Remove from Pan: Once completely cool, run a thin knife or offset spatula around the outer edge and inner tube to loosen the cake. Gently push up on the removable bottom to lift the cake out. Run the knife under the bottom to release, then invert onto a serving plate.
- Slice and Serve: Use a long serrated knife in a gentle sawing motion to slice the cake. Clean the knife between cuts for the neatest slices. Serve plain, dusted with powdered sugar, or topped with fresh berries and whipped cream.
Notes
- Room Temperature Egg Whites: This is crucial for maximum volume. Take eggs out of the fridge 30 minutes before starting, or place whole eggs in warm (not hot) water for 5 minutes.
- Grease-Free Equipment: Even a tiny amount of fat prevents egg whites from whipping properly. Make sure bowls and beaters are spotlessly clean and completely dry.
- Don’t Grease the Pan: The batter needs to cling to the pan sides to rise. A greased pan will cause the cake to slip down and collapse.
- Sifting is Essential: Don’t skip the multiple siftings—they ensure a smooth, lump-free batter and incorporate air for lightness.
- Gentle Folding: This is where many angel food cakes fail. Fold gently and carefully—you’re trying to maintain the air bubbles you just created.
- Inverted Cooling: This cannot be skipped! The cake is too delicate when hot and will collapse under its own weight if cooled right-side up.
- Altitude Adjustments: If baking above 3,000 feet, reduce sugar by 2-3 tablespoons and increase flour by 2 tablespoons. 1 slice (1/12 of cake, without toppings)
Nutrition
- Serving Size: 1 slice (1/12 of cake, without toppings)
- Calories: 130
- Sugar: 25g
- Sodium: 85mg
- Fat: 0g
- Saturated Fat: 0g
- Unsaturated Fat: 0g
- Trans Fat: 0g
- Carbohydrates: 29g
- Fiber: 0g
- Protein: 4g
- Cholesterol: 0mg
Tips & Variations
Angel food cake is wonderfully adaptable. Here are creative ways to customize this classic:
Chocolate Angel Food Cake: Replace ¼ cup of the cake flour with ¼ cup unsweetened cocoa powder (Dutch-processed for deeper color). Sift the cocoa with the flour mixture. The cake will be slightly denser but absolutely delicious. Serve with chocolate ganache or fresh raspberries.
Lemon Angel Food Cake: Add 2 tablespoons fresh lemon zest to the flour mixture and replace the almond extract with lemon extract. Serve with lemon curd and fresh blueberries for a stunning summer dessert.
Orange Angel Food Cake: Add 1 tablespoon orange zest to the flour mixture and use orange extract in place of almond. Pairs beautifully with chocolate sauce or fresh berries.
Coconut Angel Food Cake: Replace the vanilla and almond extracts with coconut extract. Fold in ½ cup finely shredded sweetened coconut just before pouring into the pan. Toast additional coconut to sprinkle on top when serving.
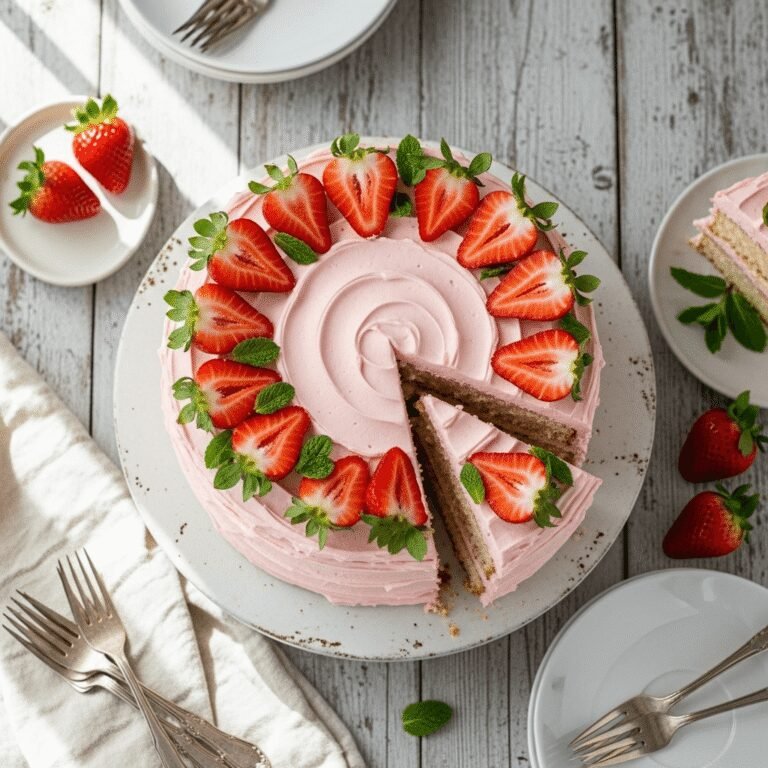
Strawberry Shortcake Style: Slice the cake horizontally into three layers. Fill with fresh sliced strawberries mixed with sugar and whipped cream. Spectacular for summer celebrations!
Coffee Angel Food Cake: Dissolve 2 tablespoons instant espresso powder in the water before adding to the egg whites. Perfect for coffee lovers when served with coffee-flavored whipped cream.
Peppermint Angel Food Cake: Replace extracts with 1 teaspoon peppermint extract. Fold in ½ cup crushed peppermint candies. Festive for Christmas!
Marble Angel Food Cake: Divide batter in half after folding in flour. Fold cocoa powder into one half. Alternate spoonfuls of white and chocolate batter in the pan, then swirl gently with a knife.
Almond Joy Version: Use all almond extract (no vanilla), fold in ½ cup mini chocolate chips and ⅓ cup toasted coconut. Decadent!
Berry Studded: Very gently fold ½ cup finely chopped fresh berries (well-dried) into the batter just before transferring to the pan. They’ll sink slightly but create beautiful pockets of fruit.
Pro Chef Tips
Take your angel food cake from homemade to professional with these expert techniques:
The Temperature Test: Room temperature egg whites can increase in volume by up to 6-8 times, while cold egg whites only increase about 4 times. To test if eggs are truly room temperature, touch one—it should feel neutral to your skin, not cold. If you’re in a hurry, place whole eggs in a bowl of warm (not hot) water for 5-10 minutes.
Separate Eggs Carefully: The best method is cracking each egg individually into a small bowl before adding the white to your mixing bowl. This way, if a yolk breaks or the egg is bad, you haven’t ruined your entire batch. Even the tiniest speck of yolk will prevent proper whipping. Use the shell-to-shell method or your hands for the cleanest separation.
The Whisk Lift Test: When checking if your egg whites are ready, lift the whisk attachment straight up. The peaks should stand completely straight up, like mountain peaks, not curl over at the tips. The mixture should look glossy and smooth, not dry or cottage-cheese-like. If it looks dry or clumpy, you’ve overbeaten—unfortunately, you’ll need to start over with fresh egg whites.
Sugar Addition Timing: Adding sugar too quickly dissolves it before it can stabilize the egg white foam. Adding it too slowly means unnecessarily long beating time which can lead to overbeating. The sweet spot is about 2 tablespoons every 10 seconds. Some professional bakers weigh out the sugar and mark it into sections for perfect timing.
The Folding Technique: Think of folding as cutting through the center of the bowl with your spatula edge, scraping along the bottom, then bringing the spatula up the side and over the top in one fluid motion. Rotate the bowl a quarter turn after each fold. Count your folds—about 40-50 total should fully incorporate the flour while maintaining maximum air. Stop as soon as no large flour pockets remain, even if there are tiny streaks.
Test for Large Air Pockets: After transferring batter to the pan, tap it gently on the counter once or twice, then run a knife through in a circle about an inch from the outer edge and again around the inner tube. This releases any large air bubbles that could create tunnels in the finished cake. Be gentle—don’t stir, just cut through.
The Toothpick Trick: When testing for doneness, insert the toothpick at an angle near the center, not straight down into the middle. The center can sometimes appear underdone even when the cake is ready. Look for dry crumbs, not wet batter. The cake will also spring back when lightly pressed and should have pulled slightly away from the pan sides.
Enhance Vanilla Flavor: For more intense vanilla flavor, scrape half a vanilla bean into the egg whites along with the extract. Those beautiful vanilla bean specks scattered throughout look (and taste) incredibly special.
Serving Temperature: Angel food cake tastes best when completely cool but not cold. If refrigerated, remove it 20-30 minutes before serving to bring it to cool room temperature. The texture is fluffier and more tender at this temperature.
Common Mistakes to Avoid
Angel food cake has a reputation for being tricky, but avoiding these common pitfalls ensures success:
Using a Greased Pan: This is the number one mistake that ruins angel food cakes! The batter absolutely must cling to the pan sides to rise tall. A greased pan causes the cake to slide down and collapse. Similarly, never use a non-stick pan for angel food cake—the batter can’t grip the slippery surface. If you accidentally grease your pan, wash it thoroughly with hot, soapy water and dry completely before starting over.
Adding All the Sugar at Once: Dumping all the sugar into the egg whites at one time dissolves it before it can stabilize the foam, resulting in a dense, flat cake. The gradual addition allows the sugar to dissolve slowly while helping create stable air bubbles. Patience here pays off enormously. Set a timer for every 10-15 seconds to remind yourself to add more sugar—it takes about 2-3 minutes total.
Not Cooling the Cake Upside Down: Skipping this step or removing the cake too early is disastrous. The cake’s delicate structure can’t support its own weight when hot. Cooling inverted uses gravity to help the cake maintain its height and prevents it from sinking into a dense disk. The cake must cool completely—at least 2-3 hours—before removing from the pan. Being impatient here ruins all your hard work.
Overbeating or Underbeating Egg Whites: Underbeaten whites won’t provide enough structure, resulting in a dense, low cake. Overbeaten whites look dry, clumpy, and curdled—they’ve lost their elasticity and won’t incorporate properly with the flour, creating a coarse, uneven texture. Learn to recognize proper stiff peaks: glossy, smooth, standing straight up when the whisk is lifted. Practice makes perfect here.
Overmixing After Adding Flour: The most common mistake after getting perfect egg whites! Vigorous stirring or too much folding deflates the carefully created air bubbles, resulting in a dense, rubbery cake. Fold gently and deliberately until just combined—a few tiny flour streaks are acceptable and preferable to an overworked batter. Stop folding as soon as you can’t see large pockets of flour.
Not Sifting Flour Enough: Lumps of flour create dense pockets in the finished cake and don’t incorporate smoothly into the delicate egg white foam. Four siftings may seem excessive, but each pass removes more lumps, incorporates air, and makes the flour lighter and easier to fold in. Don’t skip siftings—they’re crucial for that signature angel food cake texture.
Using Cold Egg Whites: Cold eggs simply don’t whip up as voluminous as room temperature ones. The difference is dramatic—you might end up with half the volume, resulting in a dense, heavy cake. Plan ahead and take eggs out early, or use the warm water bath trick to bring them to room temperature quickly.
Storage & Meal Prep
Proper storage keeps your angel food cake fresh and delicious:
Room Temperature Storage: If serving within 1-2 days, angel food cake stores perfectly at room temperature. Cover loosely with plastic wrap or place in a cake keeper—don’t seal it too tightly as the cake needs some air circulation. The cake actually stays moister at room temperature than in the refrigerator. Store in a cool, dry place away from direct sunlight or heat sources.
Refrigerator Storage: For longer storage (up to 5-7 days), wrap the cake well in plastic wrap or store in an airtight container and refrigerate. The cake will firm up slightly when cold. Before serving, let it sit at room temperature for 20-30 minutes to restore its soft, fluffy texture. The cake is more tender when not quite cold.
Prevent Drying Out: Angel food cake can dry out if exposed to air too long. If your cake isn’t covered properly, the exterior will develop a slight crust. To refresh a slightly dried cake, wrap it in a damp (not wet) towel and let it sit for 30 minutes, or lightly brush the exterior with simple syrup (equal parts sugar and water, heated until dissolved and cooled).
Storing Sliced Cake: Once cut, the exposed surfaces dry out faster. Press plastic wrap directly against the cut sides before wrapping the whole cake, or store individual slices in airtight containers with parchment paper between layers.
With Toppings: If serving with whipped cream or fruit, add these just before serving. Don’t store the cake with toppings as they’ll make it soggy. The exception is a simple powdered sugar dusting, which can be done an hour or two ahead.
Shelf Life: Properly stored, angel food cake stays fresh for 1-2 days at room temperature or up to a week refrigerated. The texture is best within the first 3 days. After that, it’s still edible but may become slightly dry or stale.
Make-Ahead & Freezer Notes
Angel food cake is excellent for advance preparation:
Baking Ahead: Angel food cake actually tastes even better the day after baking—the flavor develops and the texture settles into perfection. Make it 1-2 days ahead, let it cool completely, then store wrapped at room temperature. This is ideal for party planning since it frees up your time the day of the event.
Freezing Whole Cake: Angel food cake freezes beautifully! Once completely cooled, wrap it tightly in plastic wrap, then in aluminum foil, or place in a freezer-safe bag with as much air pressed out as possible. Freeze for up to 3 months. To thaw, remove all wrapping and let it stand at room temperature for 2-3 hours. The texture remains remarkably fluffy and fresh after freezing.
Freezing Individual Slices: For grab-and-go convenience, slice the cake and wrap individual pieces in plastic wrap, then place all wrapped slices in a freezer bag. This lets you thaw only what you need. Individual slices thaw in about 30 minutes at room temperature, or 10 seconds in the microwave (though room temperature thawing is preferable for best texture).
Topping Strategy: Never freeze the cake with toppings like whipped cream, fresh fruit, or sauces—these don’t freeze well and will make the cake soggy. Freeze the plain cake and add toppings after thawing, right before serving.
Thawing Tips: Always thaw wrapped at room temperature rather than in the refrigerator or microwave. This prevents condensation from forming on the cake’s surface, which can make it sticky or soggy. For best results, thaw still wrapped, then unwrap just before serving.
Pre-Made Egg White Hack: If you want to prep slightly ahead, separated egg whites can be refrigerated in an airtight container for up to 4 days. Bring them to room temperature before using. However, the flour mixture can be sifted and mixed weeks ahead and stored in an airtight container, saving you time on baking day.
Serving Suggestions
Angel food cake’s light, delicate flavor pairs beautifully with many accompaniments:
Classic Strawberry Shortcake Style:
- Fresh strawberries sliced and macerated with sugar for 30 minutes
- Billows of freshly whipped cream (sweetened with powdered sugar and vanilla)
- A mint sprig for garnish
- This is the most traditional and beloved serving method
Berry Medley:
- Mixed fresh berries (strawberries, blueberries, raspberries, blackberries)
- Simple berry coulis or sauce drizzled over the top
- Light dusting of powdered sugar
- Perfect for summer celebrations and Fourth of July
Elegant Citrus Pairing:
- Lemon curd spooned over each slice
- Fresh blueberries or candied lemon slices
- Whipped cream rosettes
- Ideal for brunch or Mother’s Day
Chocolate Lover’s Dream:
- Warm chocolate ganache drizzled generously
- Fresh raspberries (chocolate and raspberry are a match made in heaven)
- Chocolate shavings or cocoa powder dusting
- Surprisingly delicious despite angel food cake’s reputation as a light dessert
Tropical Paradise:
- Passion fruit curd or mango coulis
- Toasted coconut flakes
- Fresh pineapple chunks and kiwi slices
- Transports you to a sunny beach
Ice Cream Sundae:
- Slice of angel food cake as the base
- Scoop of vanilla, strawberry, or your favorite ice cream
- Hot fudge or caramel sauce
- Whipped cream, cherry, and nuts
- Fun twist on traditional sundaes
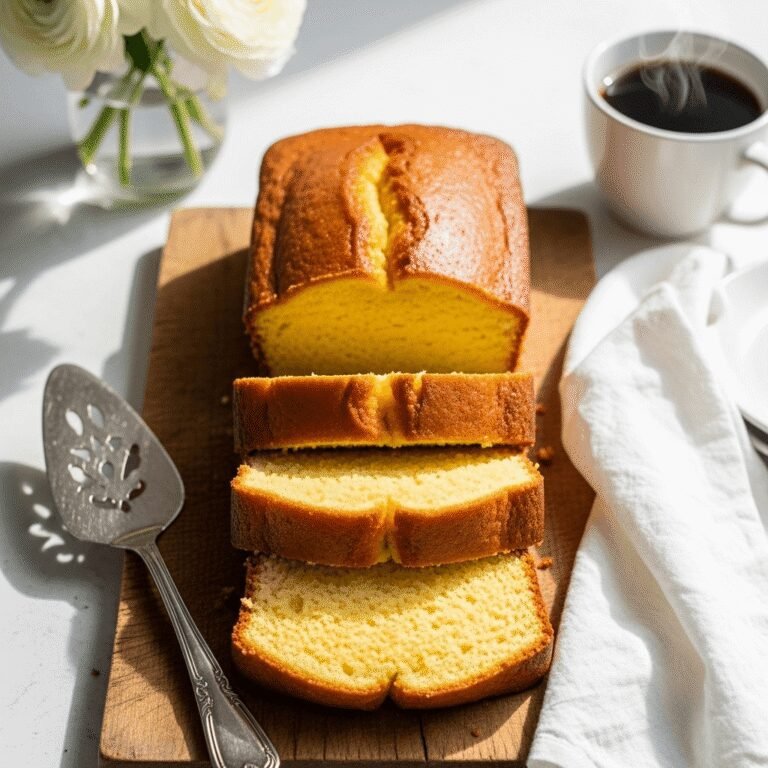
Coffee Shop Style:
- Serve with freshly brewed coffee or cappuccino
- Light dusting of cocoa powder
- Biscotti on the side
- Perfect for afternoon tea
Beverage Pairings:
- Sweet dessert wines like Moscato, Riesling, or late-harvest varieties
- Champagne or Prosecco for celebrations
- Fresh lemonade or berry-infused iced tea for daytime
- Hot tea—Earl Grey or chamomile complement the delicate flavors
- Coffee or espresso cuts through the sweetness perfectly
Seasonal Variations:
- Spring: Fresh berries and edible flowers
- Summer: Stone fruits like peaches or nectarines with whipped cream
- Fall: Caramel sauce with apple compote
- Winter: Peppermint whipped cream and chocolate shavings for holidays
FAQs Section
Why did my angel food cake fall or collapse? The most common causes are: 1) Not cooling the cake upside down, 2) Removing it from the pan before it’s completely cool, 3) Underbeaten egg whites that didn’t provide enough structure, 4) Overmixing the batter after adding flour, which deflated the air bubbles, or 5) Opening the oven door during baking, causing a temperature drop. The cake must cool inverted for 2-3 hours to maintain its height—this is non-negotiable!
Can I make angel food cake without cream of tartar? While cream of tartar is strongly recommended, you can substitute ½ teaspoon of white vinegar or lemon juice for every ½ teaspoon of cream of tartar called for. However, cream of tartar works better because it’s designed specifically for stabilizing egg whites. If you bake often, it’s worth keeping cream of tartar in your pantry—a small container lasts years since you only need small amounts.
Why is my angel food cake tough or rubbery? This usually indicates overbeaten egg whites (they looked dry and clumpy rather than glossy and smooth), or overmixing after adding the flour. It can also result from using too much flour or not sifting it enough, which creates dense pockets. Remember to fold gently and stop as soon as the flour is just incorporated. The batter should still look light and airy.
Can I use a Bundt pan instead of a tube pan? Unfortunately, no. Angel food cake requires an ungreased tube pan with a removable bottom and feet for inverted cooling. Bundt pans are greased, which causes the cake to slip and fall. The pan’s specific design is crucial for success. If you want to make angel food cake, investing in a proper tube pan (they’re inexpensive!) is necessary.
Can I make angel food cake without a mixer? Technically yes, but it’s extremely challenging and not recommended. Beating 12 egg whites to stiff peaks by hand with a whisk takes 15-20 minutes of continuous, vigorous whisking—it’s exhausting! A handheld electric mixer or stand mixer is really essential for this recipe. If you’re determined to try by hand, use a large balloon whisk in a copper bowl (copper naturally stabilizes egg whites), and prepare for a serious arm workout.
Why does my cake have a large tunnel or hole in the middle? Large air pockets or tunnels form when big bubbles aren’t released before baking. After transferring the batter to the pan, run a knife through it in a circular motion to cut through large air pockets. Don’t overdo this (you don’t want to deflate the batter), but one or two gentle cuts through will release big bubbles. Also, overmixing can create tunnels, as can uneven oven temperature—make sure your oven is properly preheated and use an oven thermometer to verify accuracy.
Can I double this recipe? It’s not recommended to double the recipe and bake it all in one larger pan—the baking time and texture would be affected. Instead, make two separate cakes in two 10-inch tube pans using the full recipe for each. You can bake them simultaneously if they both fit on the same oven rack with at least 2 inches of space between them and the oven walls for proper air circulation. This is perfect for large gatherings or when you want to freeze one cake for later.
Conclusion
Congratulations—you now have everything you need to create a picture-perfect, bakery-quality angel food cake right in your own kitchen! This heavenly dessert is truly one of the most rewarding cakes to master, with its cloud-like texture, elegant presentation, and surprisingly simple ingredient list. While the technique requires a bit of attention to detail, the results are absolutely worth it—a tall, fluffy, impossibly light cake that impresses every single time.
The beauty of this classic angel food cake recipe is its versatility. Serve it simply with fresh berries and whipped cream for a timeless classic, or get creative with the endless flavor variations and topping combinations. Whether you’re celebrating a birthday, hosting a spring brunch, or just treating yourself to something sweet and light, this angel food cake never disappoints. Plus, being naturally low in fat makes it a dessert you can feel good about enjoying!
I’d absolutely love to hear about your angel food cake success! Did you try any of the flavor variations? What toppings did you choose? Please leave a comment below sharing your experience and rating the recipe—your feedback helps other home bakers and means the world to me. If you loved this recipe (and I know you will!), please share it with your friends and Pin it to your favorite Pinterest boards so you can find it again whenever that angel food cake craving strikes. Happy baking, friends!