Classic Homemade Birthday Cake Recipe – Moist Vanilla Layer Cake!
There’s something absolutely magical about a homemade birthday cake that makes every celebration feel extra special. This classic birthday cake recipe creates a beautiful, moist vanilla layer cake with fluffy buttercream frosting that’s perfect for any age, any celebration, and any skill level. Forget the boxed mixes—this easy birthday cake from scratch tastes infinitely better and isn’t nearly as intimidating as you might think!
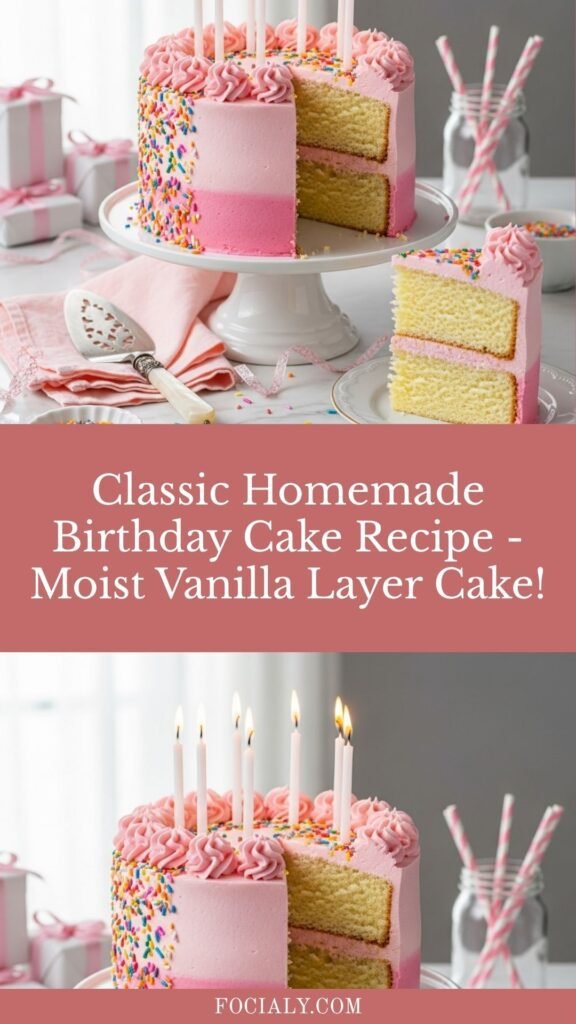
This traditional vanilla birthday cake features tender, buttery layers with a delicate crumb that melts in your mouth, paired with silky-smooth vanilla buttercream that’s perfect for decorating. Whether you’re celebrating a child’s first birthday, a milestone anniversary, or anything in between, this homemade layer cake delivers that nostalgic, celebratory flavor everyone loves. The best part? It comes together with simple ingredients you probably already have in your pantry.
This best birthday cake recipe is incredibly versatile—you can customize the colors, add sprinkles for a festive funfetti version, or keep it elegantly simple. It’s the kind of cake that becomes a family tradition, the recipe you turn to year after year to make birthdays memorable. With straightforward instructions and foolproof techniques, even beginner bakers can create a stunning, bakery-worthy celebration cake that’ll have everyone asking for seconds (and the recipe!). Let’s make some birthday magic happen!
History / Background
The tradition of birthday cakes dates back thousands of years, though the cakes we know and love today are a relatively modern creation. Ancient Greeks are credited with the earliest birthday cake traditions, baking round honey cakes to honor Artemis, the goddess of the moon. They added candles to make the cakes glow like the moon—the beginning of our candle-blowing tradition!
However, the Romans were the first to celebrate individual birthdays with special cakes, though these were primarily reserved for important men in society. Sweet birthday celebrations for common people, especially children, didn’t become widespread until much later due to the high cost of ingredients like sugar, flour, and butter.
The birthday cake as we know it today—light, fluffy, sweet, and beautifully decorated—emerged during the Industrial Revolution in the mid-to-late 1800s. Several technological advances made this possible: refined white flour became more affordable and accessible, baking powder was invented (making cakes lighter and easier to bake), temperature-controlled ovens were developed, and sugar production increased, lowering prices dramatically.
Germany is often credited with establishing the modern birthday cake tradition through “Kinderfeste” (children’s parties) in the 18th century. German bakers created elaborate layered cakes specifically for children’s birthdays, complete with candles representing each year of life plus one extra for good luck—a tradition that continues today.
The classic American birthday cake—vanilla layers with buttercream frosting—gained popularity in the early 20th century. The invention of vegetable shortening in 1911 revolutionized frosting, making it more stable and easier to work with. By the 1920s and 1930s, birthday cakes had become an expected centerpiece of American birthday celebrations across all social classes.
The 1950s saw the rise of boxed cake mixes, which made birthday cakes even more accessible to home bakers. However, many bakers and families have returned to from-scratch recipes in recent decades, recognizing that homemade birthday cakes taste significantly better and create more meaningful memories. Today’s classic birthday cake represents generations of baking tradition—a simple yet celebratory dessert that brings joy to millions of celebrations worldwide.
Why You’ll Love This Recipe
This homemade birthday cake recipe is about to become your go-to celebration dessert, and here’s why you’ll absolutely love making it:
This recipe combines classic flavors with foolproof techniques, creating a cake that looks and tastes like it came from a professional bakery—but it’s surprisingly achievable for home bakers of any skill level.
- Bakery-quality results at home – Create a stunning layer cake that rivals anything you’d buy, at a fraction of the cost
- Moist and tender texture – The perfect crumb that’s soft without being dense, fluffy without being dry
- Pure vanilla flavor – Clean, buttery taste that everyone loves—the perfect canvas for any frosting flavor
- Easy to follow – Step-by-step instructions make even your first layer cake turn out beautifully
- Beginner-friendly – No special techniques or equipment required; just basic baking skills
- Completely customizable – Change colors, flavors, and decorations to match any theme or preference
- Feeds a crowd – Makes 12-16 generous servings perfect for parties
- Budget-friendly – Costs less than half what you’d pay for a bakery cake
- Make-ahead friendly – Bake layers in advance and frost the day of the party
- Freezer-friendly – Both layers and frosted cake freeze beautifully for up to 3 months
- Creates memories – Nothing says “special celebration” like a homemade cake made with love
This is the kind of recipe that gets passed down through families, the cake recipe you’ll turn to for every birthday, and the one everyone requests year after year!
Ingredient Notes
Understanding your ingredients ensures birthday cake perfection every time:
For the Cake Layers:
All-Purpose Flour – Creates the structure for tender, fluffy cake layers. Provides just enough protein for stability without toughness. Substitution: Cake flour creates an even more tender crumb (add 2 tablespoons per cup of flour), but all-purpose works beautifully.
Granulated Sugar – Sweetens the cake and helps create that tender, moist texture. Sugar interferes with gluten formation, keeping the cake soft. Substitution: Superfine sugar dissolves even more easily for an extra-fine crumb.
Unsalted Butter (Room Temperature) – Provides rich flavor and helps create a tender crumb through the creaming process. Room temperature is crucial for proper incorporation. Substitution: Don’t use oil here; butter creates the classic birthday cake flavor and texture.
Eggs (Room Temperature) – Provide structure, moisture, and help the cake rise. Room temperature eggs emulsify better with butter and create a more stable batter. Note: Bring eggs to room temperature by placing them in warm water for 10 minutes.
Whole Milk (Room Temperature) – Adds moisture and creates a tender crumb. The fat content contributes to richness. Substitution: 2% milk works, but whole milk creates the best texture. Buttermilk can be used for tangier flavor.
Baking Powder – The primary leavening agent that helps the cake rise and creates that light, fluffy texture. Note: Make sure yours is fresh (less than 6 months old) for maximum rising power.
Baking Soda – Works with the baking powder for additional rise and helps with browning. Note: Just a small amount is needed; too much creates a soapy taste.
Salt – Essential for balancing sweetness and enhancing all the other flavors. Don’t skip it!
Pure Vanilla Extract – The signature flavor of birthday cake. High-quality vanilla makes a noticeable difference. Substitution: Vanilla bean paste creates even more intense flavor with beautiful specks throughout.
For the Buttercream Frosting:
Unsalted Butter (Room Temperature) – The base of smooth, creamy buttercream. Must be properly softened for the right consistency. Note: The butter should be soft enough to leave an indent when pressed but not melting or greasy.
Powdered Sugar (Confectioners’ Sugar) – Creates the sweet, smooth texture of buttercream. Sifting prevents lumps. Substitution: There’s no good substitute for powdered sugar in buttercream.
Heavy Cream or Milk – Thins the frosting to the perfect spreading consistency. Substitution: Either works; heavy cream creates richer frosting.
Vanilla Extract – Flavors the frosting with that classic birthday cake taste.
Salt – A pinch balances the sweetness and enhances the butter flavor.
Equipment Needed
Gather these tools for smooth, successful baking:
- Two 9-inch round cake pans – For baking the layers (or three 8-inch pans for a taller cake)
- Parchment paper – For lining pan bottoms to prevent sticking
- Stand mixer or electric hand mixer – Makes mixing easier and creates better texture
- Large mixing bowls – At least two for separating wet and dry ingredients
- Rubber spatula – For scraping down bowls and folding ingredients
- Whisk – For combining dry ingredients
- Measuring cups and spoons – For accurate measurements (crucial in baking!)
- Cooling racks – For cooling layers completely before frosting
- Toothpick or cake tester – For checking doneness
- Offset spatula – Makes frosting layers much easier (highly recommended!)
- Cake turntable (optional but helpful) – Makes frosting smooth and even
- Bench scraper (optional) – For creating smooth frosting edges
- Piping bags and tips (optional) – For decorative frosting details
- Cake board or serving plate – For presenting your finished masterpiece
Birthday Cake Recipe

This classic homemade birthday cake features moist, tender vanilla cake layers with fluffy buttercream frosting. It’s the perfect from-scratch celebration cake that’s surprisingly easy to make and tastes infinitely better than any boxed mix!
- Prep Time: 30 minutes
- Cook Time: 30 minutes
- Total Time: 60 minutes
- Yield: 12-16 servings 1x
- Category: Dessert
- Method: b
- Diet: Vegetarian
Ingredients
For the Vanilla Cake Layers:
- 2¾ cups (345g) all-purpose flour
- 1¾ cups (350g) granulated sugar
- 1 cup (230g) unsalted butter, room temperature
- 4 large eggs, room temperature
- 1 cup (240ml) whole milk, room temperature
- 1 tablespoon baking powder
- ½ teaspoon baking soda
- 1 teaspoon salt
- 2 teaspoons pure vanilla extract
For the Vanilla Buttercream Frosting:
- 1½ cups (345g) unsalted butter, room temperature
- 6 cups (720g) powdered sugar, sifted
- ¼ cup (60ml) heavy cream or milk
- 2 teaspoons pure vanilla extract
- ¼ teaspoon salt
- Food coloring (optional)
- Sprinkles for decoration (optional)
Instructions
- Preheat and prepare pans: Preheat your oven to 350°F (175°C). Grease two 9-inch round cake pans with butter or baking spray, line the bottoms with parchment paper circles, then grease the parchment. Dust lightly with flour and tap out excess. This triple protection ensures easy release!
- Mix dry ingredients: In a large bowl, whisk together flour, baking powder, baking soda, and salt. Set aside. Whisking aerates the flour and ensures even distribution of leavening agents.
- Cream butter and sugar: In a stand mixer (or large bowl with hand mixer), beat the room-temperature butter on medium speed for 2 minutes until smooth and creamy. Add sugar and beat on medium-high speed for 4-5 minutes until light, fluffy, and pale in color. This creaming process incorporates air, creating a lighter cake. Stop and scrape down the bowl as needed.
- Add eggs: Add eggs one at a time, beating well after each addition (about 30 seconds per egg). Make sure each egg is fully incorporated before adding the next. The mixture may look slightly curdled—this is normal. Add vanilla extract and mix until combined.
- Alternate dry and wet ingredients: With mixer on low speed, add the flour mixture in three additions, alternating with the milk in two additions, beginning and ending with flour. Mix each addition just until combined—about 10-15 seconds. The pattern is: ⅓ flour, ½ milk, ⅓ flour, ½ milk, ⅓ flour. Don’t overmix!
- Finish mixing: Stop the mixer and use a rubber spatula to scrape the bottom and sides of the bowl, then gently fold a few times to ensure everything is incorporated. The batter should be smooth and fluffy.
- Divide and bake: Divide batter evenly between the two prepared pans (about 2½ cups per pan—you can weigh them for precision). Spread evenly and tap pans gently on the counter 2-3 times to release air bubbles. Bake for 28-32 minutes, until a toothpick inserted in the center comes out clean or with just a few moist crumbs, and the tops spring back when lightly touched.
- Cool completely: Remove from oven and let cakes cool in pans on wire racks for 10 minutes. Run a knife around the edges, then carefully invert onto racks. Remove parchment paper and let cool completely—at least 1-2 hours. Cakes must be completely cool before frosting or the buttercream will melt!
Make the Buttercream Frosting:
- Beat the butter: In a stand mixer (or large bowl with hand mixer), beat room-temperature butter on medium speed for 3-4 minutes until smooth, creamy, and pale. Properly beaten butter is the key to smooth buttercream.
- Add sugar gradually: With mixer on low speed, add powdered sugar 1 cup at a time, beating after each addition. Start on low to prevent a sugar cloud! Once all sugar is incorporated, increase speed to medium-high and beat for 2 minutes.
- Add liquid and flavorings: Add heavy cream (or milk), vanilla extract, and salt. Beat on medium speed for 30 seconds, then increase to medium-high and beat for 3-4 minutes until light, fluffy, and smooth. If too thick, add more cream 1 tablespoon at a time. If too thin, add more powdered sugar ¼ cup at a time.
- Add color if desired: If you want colored frosting, add gel food coloring a tiny bit at a time, beating until evenly distributed.
Assemble the Cake:
- Level the layers (optional): If your cake layers domed during baking, use a serrated knife or cake leveler to trim the tops flat for even stacking.
- First layer: Place one cake layer on your serving plate or cake board, cut side up if leveled. Place strips of parchment paper under the edges to keep the plate clean while frosting (remove later).
- Add filling: Spread about 1 cup of buttercream evenly over the first layer, going almost to the edges (it will spread when you add the top layer).
- Stack second layer: Place the second cake layer on top, cut side down if leveled. Press down gently to adhere.
- Crumb coat: Apply a very thin layer of frosting all over the cake (top and sides). This “crumb coat” seals in crumbs. Refrigerate for 15-20 minutes to set the crumb coat.
- Final frosting: Apply remaining frosting generously over the chilled crumb coat, smoothing the top and sides with an offset spatula or bench scraper. Use a cake turntable if you have one for easier frosting.
- Decorate: Add sprinkles, piped decorations, or keep it simple—the choice is yours! Remove parchment strips carefully.
- Serve: Let the cake sit at room temperature for 30 minutes before slicing for the best texture. Use a sharp knife dipped in hot water and wiped clean between cuts for neat slices.
Notes
- Room temperature ingredients are crucial: Cold ingredients don’t mix properly and create a denser cake. Plan ahead!
- Don’t overmix after adding flour: Mix just until combined to avoid developing too much gluten, which makes cake tough.
- Level layers for best results: Professional-looking cakes have flat, even layers. Save the dome scraps for snacking!
- Make cupcakes instead: This batter makes 24-28 cupcakes. Fill liners ⅔ full and bake at 350°F for 18-22 minutes.
- Frosting can be made ahead: Make buttercream up to 3 days ahead and refrigerate. Bring to room temperature and re-whip before using.
- Storage: Store covered at room temperature for 2 days or refrigerate for up to 5 days. Bring to room temperature before serving.
Nutrition
- Serving Size: 1 slice (1/14 of cake with frosting)
- Calories: 565
- Sugar: 58g
- Sodium: 280mg
- Fat: 28g
- Saturated Fat: 17g
- Unsaturated Fat: 9g
- Trans Fat: 0g
- Carbohydrates: 74g
- Fiber: 1g
- Protein: 5g
- Cholesterol: 115mg
Tips & Variations
Customize your birthday cake to make it uniquely yours:
Flavor Variations:
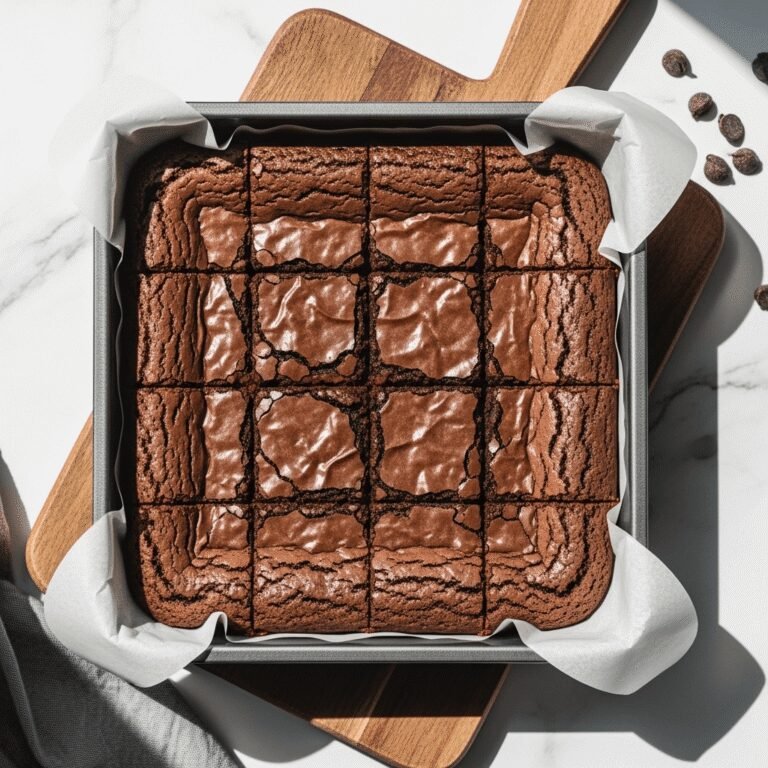
- Chocolate Birthday Cake: Replace ¾ cup flour with ¾ cup cocoa powder and add ½ cup sour cream to batter
- Funfetti/Confetti Cake: Fold ½ cup rainbow sprinkles into batter before baking
- Lemon Birthday Cake: Add 2 tablespoons lemon zest and replace vanilla with lemon extract
- Almond Cake: Replace vanilla with almond extract for subtle nutty flavor
- Strawberry Cake: Add ½ cup freeze-dried strawberry powder to batter
Frosting Variations:
- Chocolate Buttercream: Add ¾ cup cocoa powder with the powdered sugar
- Cream Cheese Frosting: Replace half the butter with softened cream cheese
- Brown Butter Buttercream: Brown the butter, chill until solid, then proceed with recipe
- Coffee Buttercream: Add 2 tablespoons instant espresso powder
- Fruit Frosting: Add ¼ cup fruit puree (reduce cream accordingly)
Filling Options:
- Fresh fruit and whipped cream between layers
- Lemon curd or fruit jam
- Chocolate ganache
- Cookie butter or Nutella
- Salted caramel sauce
Decoration Ideas:
- Classic: Rainbow sprinkles covering sides and top
- Elegant: Fresh flowers and gold leaf
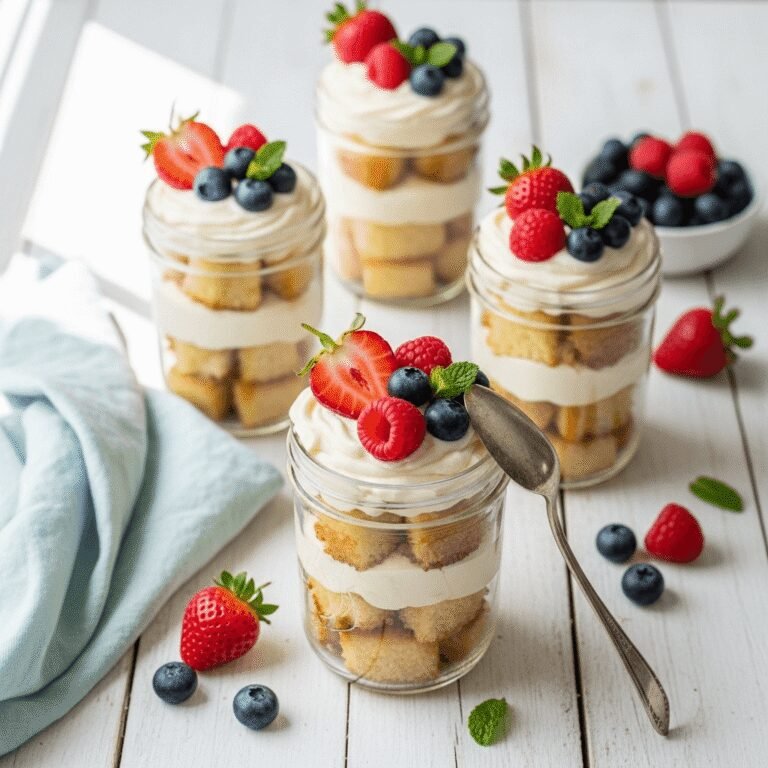
- Rustic: Naked or semi-naked frosting with fresh berries
- Fun: Candy, cookies, or themed decorations
- Ombré: Graduated color frosting from light to dark
Size Modifications:
- Three 8-inch layers: Divide batter among three pans, bake 22-25 minutes
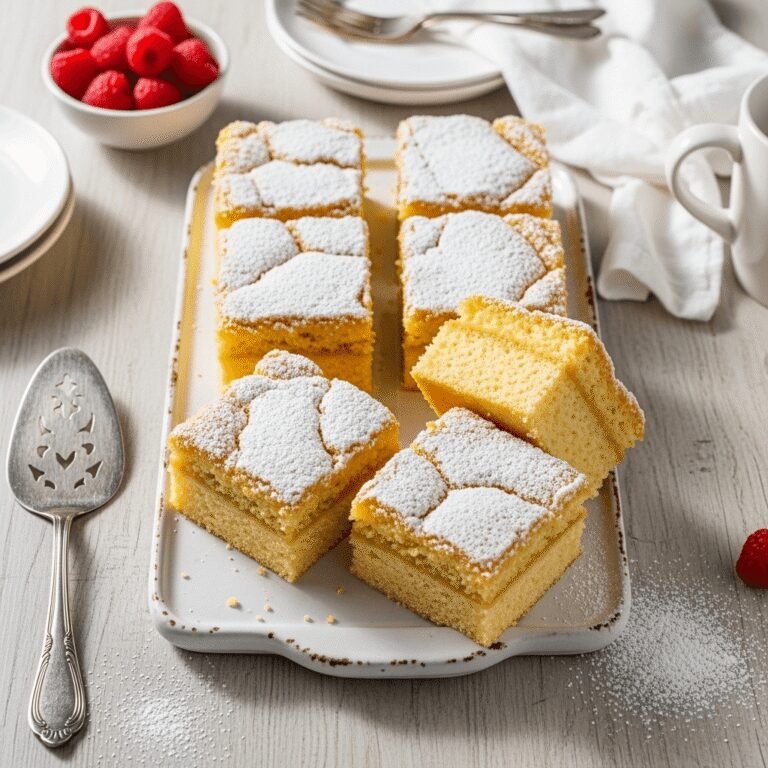
- Sheet cake: Use 9×13-inch pan, bake 35-40 minutes
- Cupcakes: Makes 24-28, bake 18-22 minutes
- Mini layers: Four 6-inch layers, bake 20-23 minutes
Pro Chef Tips
Elevate your birthday cake with these professional techniques:
- Master the creaming method: The key to light, fluffy cake is properly creaming butter and sugar for a full 4-5 minutes. This incorporates tiny air bubbles that expand during baking, creating that tender, fine crumb. Don’t rush this step! The mixture should lighten in color by several shades and increase in volume. If it’s still bright yellow, keep beating.
- Use the “reverse creaming” method for even more tender cake: For an alternative mixing method that creates exceptionally tender cake, mix flour, sugar, and salt together, then cut in the softened butter until the mixture resembles coarse sand. Add eggs and milk. This method coats flour particles with fat before they encounter liquid, limiting gluten development.
- Weigh your ingredients for consistency: Professional bakers weigh ingredients for accuracy. If you’re serious about baking, invest in a kitchen scale. It ensures consistent results every time and actually makes baking faster (no measuring cups to wash!).
- Test oven temperature with an oven thermometer: Many home ovens run 15-25°F off from the displayed temperature. An inexpensive oven thermometer ensures accuracy, preventing under or overbaked cakes.
- Create perfectly level layers: For professional-looking cakes, use baking strips (wet fabric strips wrapped around pans) or make your own by soaking and wringing out old towels and pinning them around pans. This insulates the edges, preventing them from setting too quickly and causing doming.
- Perfect your frosting consistency: The ideal buttercream should be spreadable but hold its shape—like thick peanut butter. If it’s too stiff, add cream 1 teaspoon at a time. If too soft, refrigerate for 10 minutes or add more powdered sugar. For piping decorations, use slightly stiffer frosting than for spreading.
- The hot knife trick for clean slices: Dip your knife in very hot water, wipe it completely dry, then slice. Wipe clean and reheat between each cut. This melts through the frosting cleanly instead of dragging it, creating bakery-perfect slices.
Common Mistakes to Avoid
Sidestep these pitfalls for perfect birthday cake every time:
- Using cold ingredients: This is the number one mistake in cake baking! Cold butter won’t properly cream with sugar, cold eggs can curdle the batter, and cold milk prevents proper emulsification. The result is a dense, tough cake with poor texture. Take everything out of the refrigerator 1-2 hours before starting, or quick-temper eggs in warm water and milk in the microwave (15-20 seconds).
- Overmixing after adding flour: Once flour is added, gluten development begins. Overmixing creates too much gluten, resulting in a tough, chewy cake instead of tender and soft. Mix on low speed just until you can’t see dry flour anymore—10-15 seconds per addition. A few small lumps are fine!
- Opening the oven door too early: Every time you open the oven door during the first 20 minutes of baking, the temperature drops significantly, potentially causing the cake to fall or bake unevenly. Resist the urge to peek! Wait at least 25 minutes before opening, and work quickly when you do.
- Frosting a warm cake: This is heartbreaking when it happens! Warm cake will melt buttercream, causing it to slide off in a greasy mess. Your cake must be completely cool—ideally refrigerated for 30 minutes before frosting. If you’re in a hurry, place layers in the freezer for 15 minutes, but they must be completely cool throughout, not just on the surface.
- Not using parchment paper in pans: Even in well-greased pans, cakes can stick, especially around the edges. Parchment paper circles on the bottom guarantee easy release. Trace your pan on parchment, cut out circles, and place them in greased pans. This extra 30 seconds of prep prevents disaster when unmolding.
Storage & Meal Prep
Keep your birthday cake fresh and delicious:
Room Temperature Storage: A frosted cake can sit at room temperature for up to 2 days if covered with a cake dome or large bowl (don’t use plastic wrap, which can stick to and ruin frosting). The buttercream creates a seal that keeps the cake moist. Room temperature cake has the best texture and flavor.
Refrigerator Storage: For longer storage, refrigerate the covered cake for up to 5 days. Buttercream firms up in the fridge, so let the cake sit at room temperature for 30-60 minutes before serving for the best taste and texture. The cake itself actually stays fresher at room temperature, but the fridge is fine if needed.
Storing Unfrosted Layers: Wrap cooled, unfrosted layers tightly in plastic wrap and store at room temperature for 1 day, refrigerate for up to 3 days, or freeze for up to 3 months. This is actually the ideal way to prep ahead!
Leftover Slices: Wrap individual slices in plastic wrap or store in airtight containers. Room temperature for 2 days, refrigerated for 5 days. This makes great grab-and-go treats!
Make-Ahead & Freezer Notes
Birthday cakes are excellent for advance preparation:
Make-Ahead Cake Layers: Bake layers up to 2 days ahead. Cool completely, wrap tightly in plastic wrap twice, and store at room temperature. The layers actually become easier to frost after a day because they’re less delicate and shed fewer crumbs. Frost the day of your event for the freshest presentation.
Make-Ahead Buttercream: Make frosting up to 1 week ahead and refrigerate in an airtight container. Before using, let it come to room temperature (this takes 2-3 hours), then re-whip with a mixer for 2-3 minutes until fluffy again. It will look separated and grainy when cold—re-whipping fixes this completely.
Freezing Unfrosted Layers: Cool layers completely, wrap tightly in plastic wrap (two layers), then wrap in aluminum foil or place in freezer bags. Freeze for up to 3 months. Thaw overnight in the refrigerator, still wrapped to prevent condensation, then bring to room temperature before frosting.
Freezing Frosted Cake: Freeze the assembled, frosted cake uncovered for 1 hour until frosting is firm. Then wrap carefully in plastic wrap and aluminum foil. Freeze for up to 3 months. Thaw overnight in the refrigerator, then let sit at room temperature for 1 hour before serving. The texture remains remarkably good!
Freezing Slices: Wrap individual slices tightly in plastic wrap, then place in a freezer bag. Freeze for up to 3 months. Thaw at room temperature for 2-3 hours or refrigerate overnight. Perfect for satisfying random cake cravings!
Flash-Freezing Decorated Cakes: If your cake has elaborate decorations, freeze it uncovered until solid (2-3 hours), then cover with a large box or container to protect decorations. This prevents smashing your beautiful work.
Serving Suggestions
Make your birthday cake celebration even more special:
Classic Accompaniments:
- Vanilla ice cream – The timeless pairing that never disappoints
- Fresh berries – Strawberries, raspberries, or blueberries add freshness
- Whipped cream – Additional light, creamy element
- Hot fudge or caramel sauce – For extra indulgence
- Milk or chocolate milk – The classic birthday beverage
Beverage Pairings:
- Cold milk – Traditional and perfect for all ages
- Champagne or sparkling cider – For elegant adult celebrations
- Coffee or espresso – Complements the sweetness beautifully
- Hot chocolate – For cozy winter birthdays
- Fruit punch – For festive children’s parties
Special Presentation Ideas:
- Cake and Ice Cream Bar: Set up toppings like sprinkles, sauces, and whipped cream so guests can customize their slices
- Sparkler Candles: For dramatic effect at the birthday song
- Fresh Flower Crown: Arrange edible flowers on top for elegant occasions
- Photo-Worthy Display: Use a beautiful cake stand with matching plates and napkins
- Individual Plating: Pre-slice and plate with a drizzle of sauce and fresh fruit
Party Planning Tips:
- Serve cake after the meal so everyone has room
- Have plenty of napkins and small plates ready
- Cut the birthday person’s slice first
- Keep extra frosting for touching up if needed
- Save the top tier for the birthday person to take home
FAQs Section
Q: Can I make this birthday cake ahead of time?
A: Absolutely! This cake is perfect for advance preparation. Bake the layers up to 2 days ahead and store wrapped at room temperature, or freeze them for up to 3 months. Make the buttercream up to a week ahead and refrigerate (re-whip before using). Assemble and frost the cake the day before your event—it actually tastes better after the flavors meld overnight! Just store at room temperature covered with a cake dome.
Q: Why did my cake layers dome in the middle?
A: Doming happens when the edges of the cake set before the center, causing the middle to rise higher. This is normal! To minimize doming, use baking strips (wet fabric wrapped around pans to insulate edges), ensure your oven isn’t too hot, and don’t fill pans more than halfway. You can also level domed cakes with a serrated knife or cake leveler for perfectly flat layers.
Q: How do I get my buttercream smooth and not grainy?
A: Grainy buttercream usually means the sugar wasn’t fully dissolved or the butter was too cold. Make sure your butter is truly at room temperature (should leave an easy indent when pressed), beat it thoroughly before adding sugar, and beat the finished frosting for a full 3-4 minutes on medium-high speed. If it’s still grainy, try adding 1-2 tablespoons of cream and beating longer.
Q: Can I use this recipe to make cupcakes?
A: Yes! This batter makes 24-28 cupcakes depending on how full you fill the liners. Fill cupcake liners about ⅔ full and bake at 350°F for 18-22 minutes, checking at 18 minutes. They’re done when a toothpick comes out clean and the tops spring back when touched. The frosting recipe is enough to generously frost all cupcakes.
Q: My cake is dry. What went wrong?
A: Dry cake usually results from overbaking (the most common cause), using too much flour (always spoon and level, never scoop), or overmixing the batter. Start checking your cake at 28 minutes—when the toothpick has just a few moist crumbs (not wet batter, but not bone-dry), it’s perfect. Remember, cakes continue cooking slightly from residual heat after you remove them from the oven.
Q: Do I really need to bring ingredients to room temperature?
A: Yes, it makes a significant difference! Room temperature butter creams properly with sugar, creating air pockets for a lighter cake. Room temperature eggs emulsify better with the batter, creating a more stable mixture. Cold ingredients can cause the batter to curdle or mix unevenly, resulting in dense, tough cake. Plan ahead and set everything out 1-2 hours before baking.
Q: Can I make this cake egg-free or dairy-free?
A: For egg-free, replace each egg with a flax egg (1 tablespoon ground flaxseed + 3 tablespoons water, let sit 5 minutes) or ¼ cup applesauce, though the texture will be slightly different. For dairy-free, use plant-based butter and milk. The results won’t be identical to the original but will still make a nice celebration cake. There are better recipes specifically designed for these dietary needs if you need them regularly.
Q: How far in advance can I frost the cake?
A: You can frost the cake up to 2 days ahead. Once frosted, keep it covered at room temperature or refrigerated. The cake actually tastes better after sitting for a day as the frosting moistens the cake layers slightly and the flavors meld together. Just let refrigerated cake come to room temperature (about 1 hour) before serving for the best texture.
Conclusion
There you have it—everything you need to create a spectacular, bakery-quality homemade birthday cake that’ll make any celebration extra special! This classic vanilla birthday cake recipe proves that baking from scratch isn’t intimidating at all. With tender, moist layers and fluffy buttercream frosting, this easy layer cake delivers the nostalgic flavor and beautiful presentation that makes birthdays memorable.
Whether you’re celebrating a first birthday, a sweet sixteen, or anything in between, this best birthday cake recipe from scratch is the one you’ll turn to again and again. The straightforward instructions and foolproof techniques make it achievable for bakers of any skill level, while the delicious results rival anything you’d find at a professional bakery—at a fraction of the cost!
The beauty of this homemade layer cake is its versatility. Keep it classic with vanilla on vanilla, add sprinkles for a festive funfetti vibe, or customize the colors and decorations to match any party theme. However you choose to decorate it, the tender crumb and rich buttercream create a combination that never fails to delight.
So ditch those boxed mixes and artificial flavors—once you taste this incredible birthday cake made from scratch, you’ll never go back! This is the recipe that becomes a family tradition, the cake everyone requests year after year, and the one that makes birthdays truly special.
Ready to bake the most amazing homemade birthday cake? Save this recipe to your Pinterest boards so you’ll have it for every celebration! After you try it, come back and tell me in the comments—what occasion did you make it for? Did you customize the colors or keep it classic? I’d love to hear about your birthday baking adventures and see photos of your beautiful creations!
Happy baking and celebrating! 🎂