The Ultimate Hazelnut Cake Recipe: Moist, Nutty, and Irresistibly Delicious
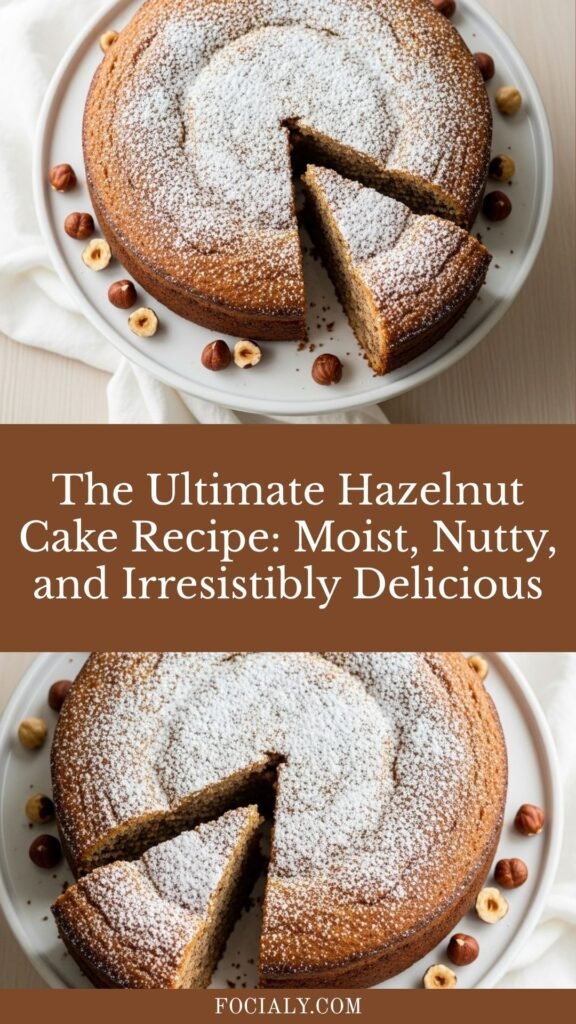
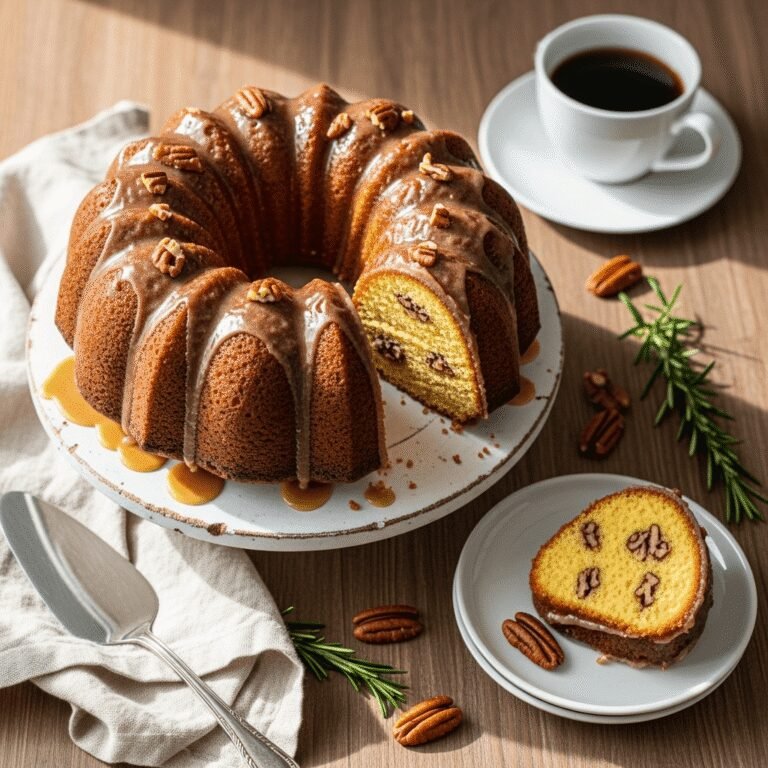
There’s something absolutely magical about a homemade hazelnut cake that fills your kitchen with the warm, toasty aroma of roasted nuts and butter. This hazelnut cake recipe is a celebration of one of nature’s most beloved nuts, creating a tender, moist cake with an incredibly rich, nutty flavor that’s simply unforgettable. Whether you’re looking for an elegant dessert for a special occasion or a comforting treat to enjoy with your afternoon coffee, this easy hazelnut cake delivers every single time.
What makes this recipe truly special is how it transforms simple ingredients into something extraordinary. The ground hazelnuts aren’t just an add-in—they’re the star of the show, creating a cake that’s naturally moist, subtly sweet, and loaded with that distinctive hazelnut flavor we all crave. Perfect for birthday celebrations, holiday gatherings, or just because you deserve something delicious, this homemade hazelnut cake is about to become your new favorite baking project.
History / Background
The hazelnut cake has deep roots in European baking traditions, particularly in Italy, France, and Austria, where hazelnuts have been cultivated for centuries. In Italy’s Piedmont region—home to some of the world’s finest hazelnuts—torta di nocciole has been a beloved dessert for generations, often served at family celebrations and local festivals. The French have their own version called gâteau aux noisettes, while Austrian bakers have perfected the art of hazelnut tortes that grace the windows of Vienna’s famous coffeehouses.
During the medieval period, hazelnuts were considered a luxury ingredient, reserved for special occasions and wealthy households. Monks in European monasteries were among the first to cultivate hazelnut orchards systematically, and they developed many of the early recipes that combined ground hazelnuts with honey and spices. As baking techniques evolved through the Renaissance and into modern times, hazelnut cakes became more accessible to home bakers.
The tradition of using ground hazelnuts in cake baking isn’t just about flavor—it’s also a practical technique that was discovered centuries ago. Ground nuts create an incredibly moist crumb and add natural oils that keep cakes tender for days. This made hazelnut cakes particularly popular before modern refrigeration, as they stayed fresh longer than cakes made with just flour. Today, this classic European dessert has found a passionate following in America, where home bakers appreciate its sophisticated flavor and surprisingly simple preparation method.
Why You’ll Love This Recipe
This homemade hazelnut cake strikes the perfect balance between elegant and approachable. It’s the kind of recipe that looks and tastes like you spent hours in the kitchen, but the reality is much simpler. The nutty, buttery flavor is complex and sophisticated, yet the preparation is straightforward enough for beginner bakers to master with confidence.
Here’s what makes this hazelnut cake recipe absolutely irresistible:
- Rich, authentic hazelnut flavor that comes from real ground hazelnuts, not artificial extracts
- Incredibly moist texture that stays tender for days thanks to the natural oils in hazelnuts
- Naturally gluten-free option when you substitute the flour entirely with ground hazelnuts and almond flour
- Budget-friendly luxury that delivers bakery-quality results at a fraction of the cost
- Versatile for any occasion from casual family dinners to elegant dinner parties
- Make-ahead friendly so you can prepare it the day before your event without stress
- Simple ingredients you probably already have in your pantry, plus hazelnuts
- Customizable flavor profile that pairs beautifully with chocolate, coffee, or fruit accompaniments
- Impressive presentation that requires minimal decorating skills to look stunning
Ingredient Notes
Hazelnuts (2 cups, ground): The star ingredient! Use raw or roasted hazelnuts that you’ll grind yourself in a food processor. Roasting them first intensifies the flavor—simply toast at 350°F for 10-12 minutes. If you’re buying pre-ground hazelnut flour, make sure it’s fresh as ground nuts can go rancid quickly. Substitution: Almond flour works in a pinch, though the flavor will be milder.
All-Purpose Flour (1 cup): This provides structure alongside the ground hazelnuts. The combination creates a tender but stable crumb. Substitution: For gluten-free hazelnut cake, replace with gluten-free 1:1 baking flour or additional ground hazelnuts/almond flour.
Granulated Sugar (1½ cups): Sweetens the cake and helps create a tender texture. Don’t reduce the amount too much or the cake may turn out dry. Substitution: You can use coconut sugar for a deeper caramel note, though the color will be darker.
Unsalted Butter (¾ cup, softened): Creates richness and moisture. Make sure it’s truly softened (not melted) for proper creaming. Substitution: Coconut oil works for dairy-free needs, though it changes the flavor slightly.
Eggs (4 large): These provide structure, moisture, and help bind everything together. Room temperature eggs incorporate better into the batter. Substitution: For vegan hazelnut cake, try flax eggs (1 tablespoon ground flaxseed + 3 tablespoons water per egg).
Vanilla Extract (2 teaspoons): Enhances the hazelnut flavor without overpowering it. Use pure vanilla extract for best results.
Baking Powder (2 teaspoons): Gives the cake its lift and light texture. Make sure yours is fresh—old baking powder won’t work properly.
Salt (½ teaspoon): A small amount balances the sweetness and enhances all the other flavors.
Milk (½ cup): Adds moisture and helps create a smooth batter. Whole milk gives the richest results. Substitution: Any dairy-free milk works—almond milk is especially complementary.
Equipment Needed
Having the right tools makes baking this easy hazelnut cake even simpler. Here’s what you’ll need:
- 9-inch round cake pan (or two 8-inch pans for a layer cake)
- Food processor or high-speed blender for grinding hazelnuts
- Electric mixer (stand mixer or handheld works great)
- Large mixing bowl and medium mixing bowl
- Measuring cups and spoons for accurate measurements
- Rubber spatula for scraping down the bowl and folding
- Wire cooling rack to cool the cake properly
- Parchment paper for lining the pan (prevents sticking)
- Sifter or fine-mesh strainer for flour and baking powder
- Toothpick or cake tester to check doneness
- Offset spatula (optional, for frosting or serving)
Hazelnut Cake Recipe

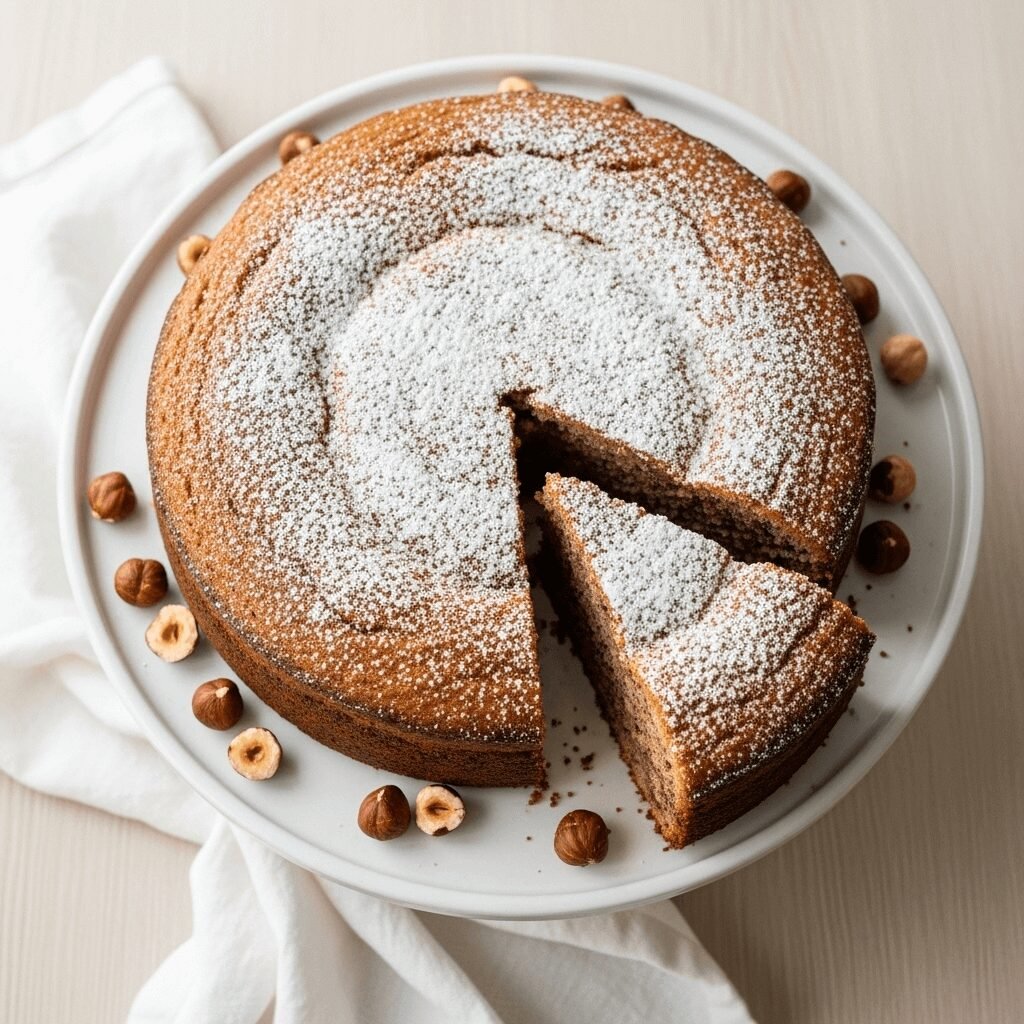
This moist and nutty hazelnut cake is a European-inspired dessert that combines ground hazelnuts with simple pantry ingredients to create an incredibly flavorful, tender cake. Perfect for special occasions or everyday indulgence, it delivers bakery-quality results with easy homemade methods.
- Prep Time: 20 minutes
- Cook Time: 40 minutes
- Total Time: 60 minutes
- Yield: 12 servings 1x
- Category: Dessert
- Method: Baking
- Cuisine: European
- Diet: Vegetarian
Ingredients
- 2 cups hazelnuts (toasted and ground)
- 1 cup all-purpose flour
- 2 teaspoons baking powder
- ½ teaspoon salt
- ¾ cup unsalted butter (softened)
- 1½ cups granulated sugar
- 4 large eggs (room temperature)
- 2 teaspoons vanilla extract
- ½ cup whole milk (room temperature)
For Topping (Optional):
- 1 cup heavy cream
- 2 tablespoons powdered sugar
- ½ cup chopped hazelnuts
- Chocolate ganache or hazelnut spread
Instructions
- Prepare the oven and pan: Preheat your oven to 350°F (175°C). Grease a 9-inch round cake pan generously with butter, then line the bottom with parchment paper. Grease the parchment paper as well. This double preparation ensures the cake releases perfectly every time.
- Toast and grind hazelnuts: If using raw hazelnuts, spread them on a baking sheet and toast at 350°F for 10-12 minutes until fragrant and the skins begin to crack. Let cool slightly, then rub in a kitchen towel to remove most of the skins (don’t worry about getting every bit off). Once cooled, pulse the hazelnuts in a food processor until finely ground but not paste-like—about 15-20 pulses. You want a texture similar to coarse flour.
- Combine dry ingredients: In a medium bowl, whisk together the ground hazelnuts, all-purpose flour, baking powder, and salt. Set this aside while you prepare the wet ingredients.
- Cream butter and sugar: In a large mixing bowl, use an electric mixer to beat the softened butter and granulated sugar together on medium-high speed for 3-4 minutes. The mixture should become light, fluffy, and pale in color. This step incorporates air and creates a tender crumb, so don’t rush it.
- Add eggs one at a time: With the mixer on medium speed, add the eggs one at a time, beating well after each addition. The mixture might look slightly curdled after the first egg—that’s normal. Continue adding eggs and it will come together. Mix in the vanilla extract.
- Alternate dry ingredients and milk: With the mixer on low speed, add the dry ingredient mixture in three additions, alternating with the milk in two additions. Start and end with the dry ingredients (dry-wet-dry-wet-dry). Mix just until combined after each addition—overmixing can make the cake tough.
- Pour and smooth: Pour the batter into your prepared cake pan. Use a rubber spatula to smooth the top evenly, making sure the batter reaches the edges of the pan.
- Bake: Place the pan in the preheated oven and bake for 38-42 minutes, or until a toothpick inserted into the center comes out with just a few moist crumbs attached. The top should be golden brown and the cake should spring back lightly when touched.
- Cool properly: Remove from the oven and let the cake cool in the pan for 15 minutes on a wire rack. This resting period helps prevent cracking. After 15 minutes, run a butter knife around the edges, invert onto the rack, remove the parchment paper, then flip right-side up to cool completely.
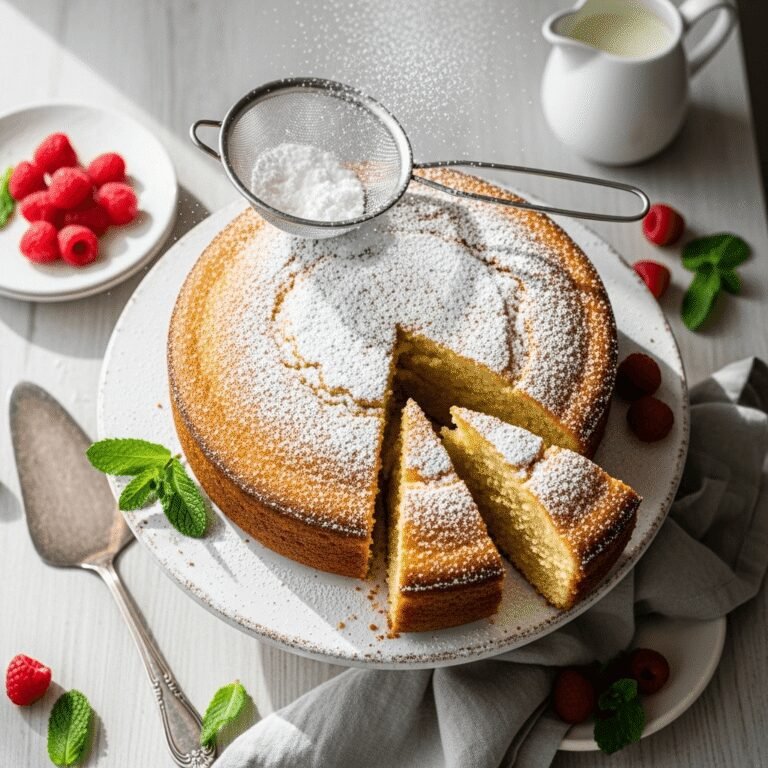
- Serve and enjoy: Once completely cooled, dust with powdered sugar, top with whipped cream and chopped hazelnuts, or frost with your favorite frosting. Slice and serve this delicious homemade hazelnut cake with coffee or tea.
Notes
- Grinding hazelnuts: Be careful not to over-process or you’ll end up with hazelnut butter instead of ground nuts. Pulse in short bursts and stop to check the texture frequently.
- Room temperature ingredients: This is crucial for proper emulsification. Take eggs, butter, and milk out of the fridge 1-2 hours before baking.
- Testing for doneness: Oven temperatures vary, so start checking at 35 minutes. The cake is done when a toothpick comes out with a few moist crumbs (not wet batter).
- Storing hazelnuts: Ground hazelnuts can go rancid quickly due to their high oil content. Store them in the refrigerator or freezer until ready to use.
- Preventing dryness: Don’t overbake! The residual heat continues cooking the cake even after removing from the oven.
Nutrition
- Serving Size: 1 slice (1/12 of cake)
- Calories: 385
- Sugar: 28g
- Sodium: 165mg
- Fat: 24g
- Saturated Fat: 9g
- Unsaturated Fat: 13g
- Trans Fat: 0g
- Carbohydrates: 38g
- Fiber: 3g
- Protein: 7g
- Cholesterol: 95mg
Tips & Variations
Chocolate Hazelnut Cake: Melt 4 oz of dark chocolate and fold it into the finished batter. Or frost with chocolate buttercream or hazelnut chocolate spread for an ultra-decadent treat.
Coffee-Enhanced Version: Add 2 tablespoons of instant espresso powder to the dry ingredients. Coffee intensifies the hazelnut flavor beautifully without making the cake taste like coffee.
Layered Celebration Cake: Divide the batter between two 8-inch pans and bake for 25-30 minutes. Once cooled, layer with whipped cream, chocolate ganache, or buttercream frosting.
Citrus Twist: Add the zest of one orange or lemon to the batter for a bright, fresh note that cuts through the richness.
Spiced Hazelnut Cake: Mix in ½ teaspoon cinnamon and ¼ teaspoon nutmeg for a warm, autumnal version perfect for holiday gatherings.
Individual Servings: Use the batter to make muffins or cupcakes—bake at 350°F for 18-22 minutes. Perfect for portion control or party servings.
Reduced Sugar Version: You can reduce the sugar to 1¼ cups if you prefer a less sweet cake, though it may affect the texture slightly.
Pro Chef Tips
Toast your hazelnuts properly: The difference between raw and properly toasted hazelnuts is dramatic. Toasting caramelizes the natural sugars and develops complex, deep flavors that make this cake truly special. Watch them carefully though—they can go from perfect to burnt in seconds.
Use the reverse creaming method for extra-moist results: For an even more tender crumb, try adding the butter to the dry ingredients first, mixing until crumbly, then adding the wet ingredients. This coats the flour proteins with fat, preventing gluten development and creating an incredibly tender cake.
Don’t skip the parchment paper circle: Even with a greased pan, the parchment paper bottom ensures your beautiful cake releases cleanly every single time. It’s a pro baker secret that eliminates frustration.
Measure flour correctly: Too much flour is the number one cause of dry cakes. Spoon flour into your measuring cup and level it off with a knife—don’t scoop directly from the bag, which compacts the flour and adds too much.
Let the cake cool completely before frosting: Warm cake will melt your frosting and create a mess. Patience here rewards you with a professional-looking finish.
Brush with simple syrup for extra moisture: Professional bakers brush their cake layers with a simple syrup (equal parts sugar and water, heated until dissolved). This adds moisture and helps the cake stay fresh longer.
Common Mistakes to Avoid
Over-grinding the hazelnuts: If you process them too long, the natural oils release and you’ll end up with hazelnut butter instead of flour. Use short pulses and check frequently to maintain a coarse flour texture.
Using cold ingredients: Cold eggs and milk don’t emulsify properly with butter, leading to a dense, uneven cake. Always bring ingredients to room temperature first—it makes a huge difference in texture.
Overmixing the batter: Once you add the flour, mix just until you can’t see dry streaks anymore. Overmixing develops gluten, which makes the cake tough and chewy instead of tender.
Opening the oven door too early: Resist the temptation to peek before 30 minutes. Opening the oven releases heat and can cause the cake to collapse in the center. Trust the process!
Cutting the cake while still warm: I know it’s tempting, but warm cake crumbles and falls apart. Wait until it’s completely cool for clean, beautiful slices that hold their shape.
Storage & Meal Prep
Room Temperature Storage: Store your hazelnut cake covered tightly with plastic wrap or in an airtight container at room temperature for up to 3 days. The natural oils from the hazelnuts keep it moist without refrigeration.
Refrigerator Storage: If you’ve added whipped cream or cream cheese frosting, refrigerate the cake. Cover well and it will keep for up to 5 days. Bring slices to room temperature for 20-30 minutes before serving for the best flavor and texture.
Preventing Drying Out: Place a slice of bread in the container with the cake. The cake will absorb moisture from the bread, staying fresh and tender longer. Replace the bread slice if it becomes completely dried out.
Reheating Individual Slices: Microwave a slice for 10-15 seconds to bring back that fresh-from-the-oven warmth and aroma. You can also wrap slices in foil and warm them in a 300°F oven for 5-7 minutes.
Storing Unfrosted Cake: The cake layers store better unfrosted. Wrap them tightly in plastic wrap, then in foil, and store at room temperature for 2 days or refrigerate for up to a week.
Make-Ahead & Freezer Notes
Bake-Ahead Strategy: This cake is perfect for advance preparation. Bake the cake up to 2 days ahead, let it cool completely, then wrap tightly and store at room temperature. Frost or decorate on the day of serving for maximum freshness.
Freezing Baked Cake: Wrap the completely cooled, unfrosted cake tightly in plastic wrap, then in aluminum foil, or place in a freezer-safe container. Freeze for up to 3 months. Thaw overnight in the refrigerator, still wrapped, then bring to room temperature before serving or decorating.
Freezing Frosted Cake: You can freeze a frosted cake! Place it in the freezer uncovered for 30 minutes until the frosting firms up, then wrap carefully. This prevents the wrap from sticking to the frosting. Freeze for up to 2 months.
Freezing Individual Slices: Wrap individual slices separately so you can thaw just what you need. This is perfect for portion control or for those moments when you need just one slice of something sweet.
Thawing Instructions: For best results, thaw frozen cake in the refrigerator overnight while still wrapped. This prevents condensation from making the cake soggy. Let it come to room temperature before serving for optimal flavor.
Best Reheating Method: If you want that fresh-baked warmth, tent a slice loosely with foil and warm in a 300°F oven for 8-10 minutes. This refreshes the texture beautifully without drying it out.
Serving Suggestions
This moist hazelnut cake is delicious on its own, but pairing it with complementary flavors takes it to the next level.
Classic Pairings:
- A dollop of freshly whipped cream lightly sweetened with vanilla
- Vanilla bean ice cream or hazelnut gelato
- Fresh berries (raspberries and strawberries are especially lovely)
- A drizzle of warm chocolate ganache or melted hazelnut spread
Beverage Companions:
- Freshly brewed coffee or espresso (the classic choice)
- French press coffee with a splash of cream
- Hot chocolate for an ultra-indulgent experience
- Dessert wines like Moscato or Vin Santo
- Black tea, especially Earl Grey or English Breakfast
Special Occasion Presentation:
- Layer with chocolate buttercream for birthday celebrations
- Top with caramelized hazelnuts and gold leaf for weddings or anniversaries
- Serve with crème anglaise or vanilla custard for elegant dinner parties
- Add a scoop of coffee ice cream and espresso for an affogato-style dessert
Breakfast or Brunch:
- Serve slightly warmed with butter and a drizzle of honey
- Pair with Greek yogurt and fresh fruit for a balanced morning treat
- Toast leftover slices and spread with Nutella for an indulgent breakfast
FAQs Section
Can I make this hazelnut cake without a food processor?
Yes! You can buy pre-ground hazelnut flour (also called hazelnut meal) from most grocery stores or specialty food shops. Look for it in the baking aisle or natural foods section. Make sure it’s fresh and hasn’t gone rancid. Alternatively, you can use a high-powered blender to grind the hazelnuts, though a food processor gives you the most control over the texture.
Why is my hazelnut cake dense instead of fluffy?
The most common reasons are: using cold ingredients (which don’t emulsify properly), overmixing the batter after adding flour (which develops tough gluten), or using expired baking powder. Make sure all your ingredients are at room temperature, mix just until combined, and always check that your baking powder is fresh by testing it in warm water—it should bubble vigorously.
Can I make this cake gluten-free?
Absolutely! Replace the 1 cup of all-purpose flour with either ¾ cup of additional ground hazelnuts and ¼ cup of almond flour, or use a gluten-free 1:1 baking flour blend. The cake will be slightly denser but just as delicious. Make sure all other ingredients (especially baking powder) are certified gluten-free if you have celiac disease.
How do I know when the cake is perfectly done?
Insert a toothpick or cake tester into the center of the cake. It should come out with a few moist crumbs clinging to it—not wet batter, but not completely clean either. The cake should also spring back gently when you press the top lightly with your finger, and the edges will just start to pull away from the sides of the pan.
Can I substitute other nuts for hazelnuts?
Yes! Almonds are the closest substitute and work beautifully. Walnuts or pecans also work, though they have more assertive flavors that will change the character of the cake. Toast whatever nuts you use first to develop the best flavor. The technique remains exactly the same regardless of which nut you choose.
Why did my cake sink in the middle?
A sunken center usually means the cake wasn’t fully baked (even if the edges look done), the oven temperature was too low, or the oven door was opened too early in the baking process. Make sure your oven is properly preheated, avoid opening the door until at least 30 minutes into baking, and test for doneness before removing from the oven.
How can I make my hazelnut cake more moist?
Don’t overbake—start checking at 35 minutes and remove when just done. Use room temperature ingredients for proper emulsification. Consider brushing the warm cake with simple syrup (equal parts sugar and water, heated until dissolved). And make sure your hazelnuts are fresh—old nuts with rancid oils will negatively affect both flavor and moisture.
Conclusion
There you have it—the ultimate hazelnut cake recipe that brings European bakery elegance right into your kitchen! This easy hazelnut cake proves that you don’t need complicated techniques or hard-to-find ingredients to create something truly spectacular. The rich, nutty flavor, moist tender crumb, and subtle sweetness make this homemade hazelnut cake perfect for absolutely any occasion, from casual family dinners to the most elegant celebrations.
What I love most about this recipe is how forgiving and versatile it is. Whether you choose to serve it simply dusted with powdered sugar or dress it up with layers of chocolate ganache and whipped cream, it always delivers that wow factor. The natural moisture from the ground hazelnuts means your cake stays fresh and delicious for days, making it perfect for make-ahead meal prep or those times when you want to have something special ready to go.
Now it’s your turn to experience the magic of this delicious hazelnut cake! I’d love to hear how it turns out for you. Did you add chocolate? Try the coffee variation? Serve it at a special celebration? Leave a comment below and let me know! And don’t forget to save this recipe to your Pinterest boards so you can find it easily whenever that hazelnut cake craving strikes. Share it with your baking-loving friends who would appreciate a new go-to dessert recipe. Happy baking!